We Are All Students: 4 Powerful Lessons for Aspiring Pastel Artists

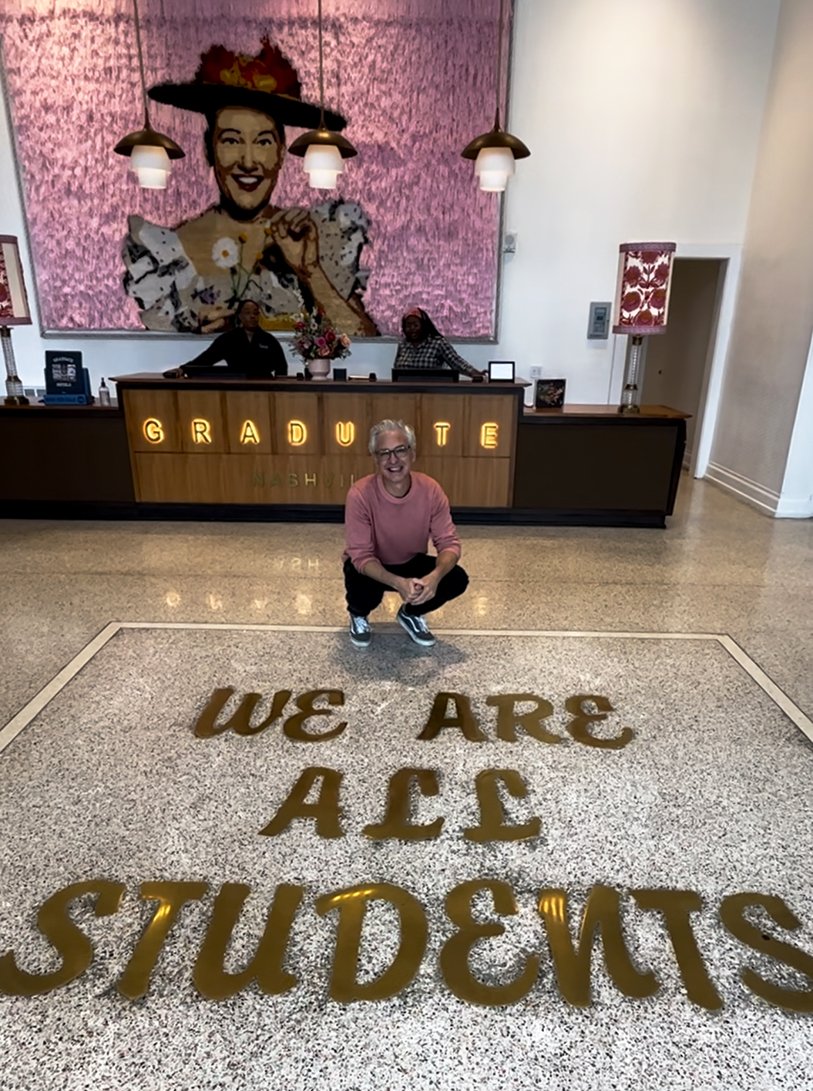
I just returned from a trip to Nashville, TN where I was meeting with a group of online business owners to learn, grow, and gain insight into how to better serve artists online. Walking into The Graduate Hotel, their mantra is written on the floor; “We Are All Students.” I love this, because it represents a growth mindset instead of a fixed one.

The fixed mindset believes that talent—without the application of effort—creates success. You’re either born with it or you’re not, and there’s nothing you can do to change it. This way of thinking is dangerous because it causes you to avoid challenges and resist criticism. I often see many art students fall into this mindset in my classes and workshops.

A growth mindset believes that our most basic abilities—like talent and intelligence—can be improved through effort, perseverance, and experience. Artists in a growth mindset crave challenges, welcome constructive criticism, view setbacks as learning opportunities, and develop a passion for hard work and a hunger for growth. They know that getting better is a process. One that requires the right attitude and dedication over time.

As you can see, the right mindset changes our behaviors and the results we will gain. So which mindset will you choose? This choice will powerfully shape the progress you make. 

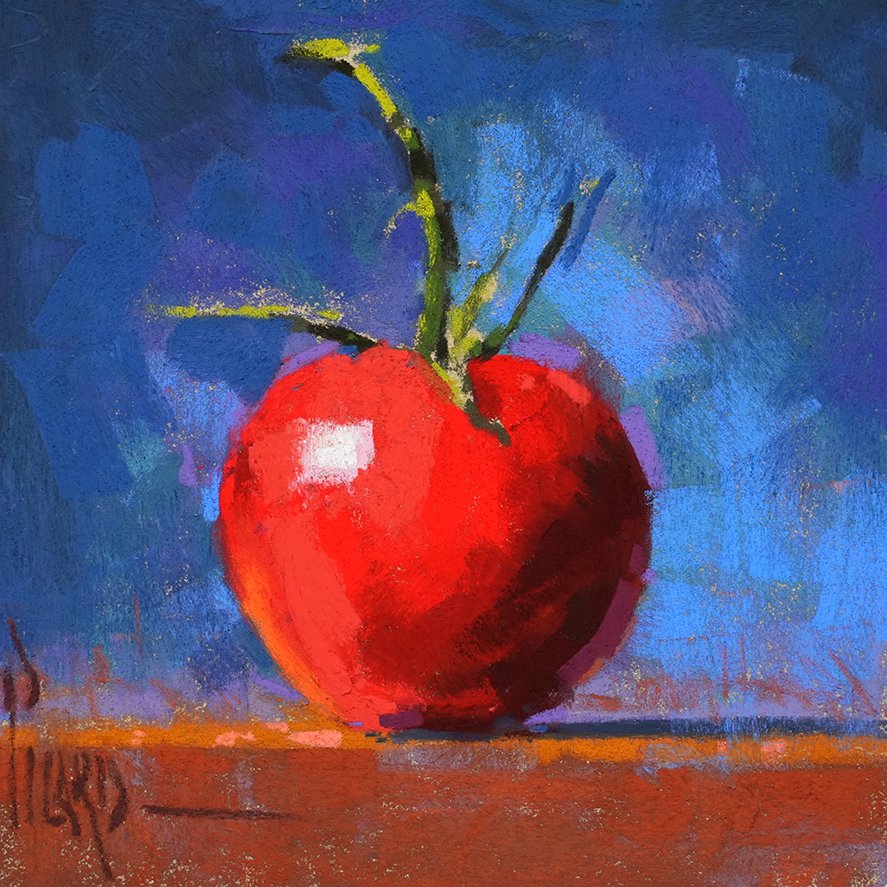
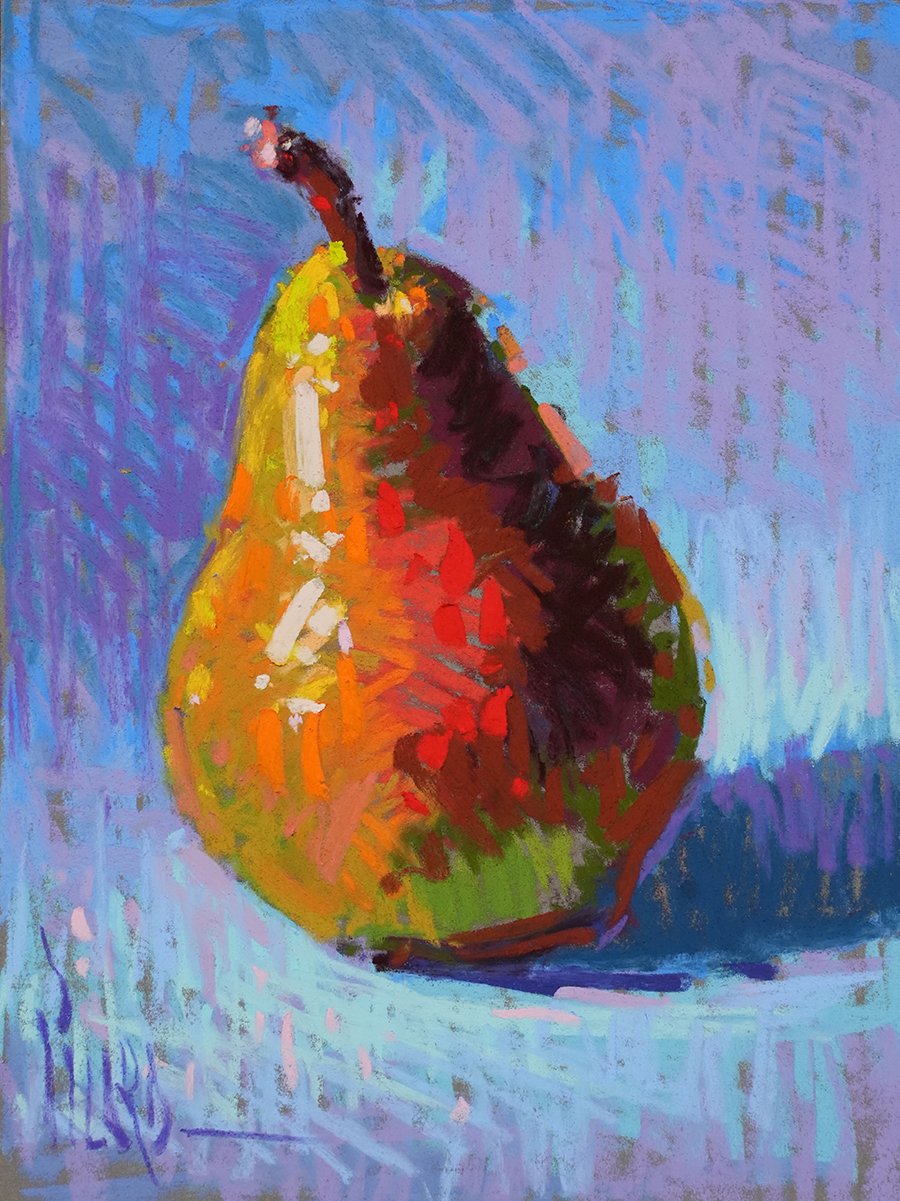
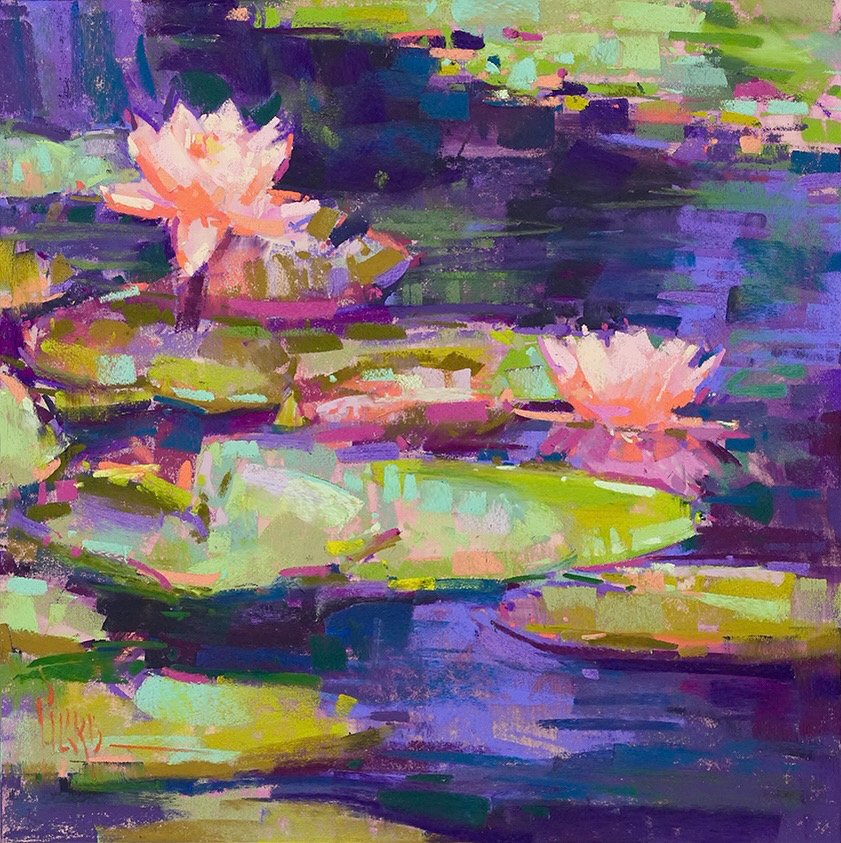
I still remember the day I picked up my first set of pastel colors, bright and full of potential. It was a figure drawing class in college. The thought of transforming these colors into a piece of figurative art was exhilarating yet daunting at the same time. My heart was filled with passion but my mind was clouded with self-doubt, questioning whether I had what it takes to be an artist.

Looking back now, I realize that those doubts were not only normal but also necessary for growth. That’s why today, I want to share four important lessons that have helped me in my artistic journey and can empower other women and men who wish to venture into the world of pastel painting.

1. Embrace a Growth Mindset

The first step is always about changing your mindset - choose progress over perfection! You don’t need to create a masterpiece every time you pick up your pastel sticks; what matters more is learning from each stroke you make on the canvas (or as we use in the Pastel world Paper or Board). In our workshops, we encourage you to move forward and continue practicing instead of only working on one piece.

2. Overcome Self-Doubt

It's perfectly normal to doubt yourself when trying new techniques like pastel layering or expressive mark making or stepping out of your comfort zone – it’s part of being human! Remember that this self-doubt doesn't define your abilities as an artist; instead use it as fuel for growth and motivation.

3. Cultivate Patience

Remember, Rome wasn't built in a day! Just like any skill, mastering art takes time and consistent effort so don’t be disheartened if progress seems slow initially. It's all about taking small steps towards bigger goals!

4. Take The Next Step

Finally, just take one step at a time – one sketch at a time! Every piece you create brings you closer to becoming the artist you aspire to be!

These strategies aren’t just relevant for aspiring artists but are also crucial for entrepreneurs starting their own art journey – persevering through challenges, constant learning, overcoming self-doubt and patience are the cornerstones of any successful venture.

Now, imagine having a community of like-minded individuals cheering you on and inspiring you to take those small steps. A place where you can share your work, learn from others, and grow together. Sounds amazing right? That's exactly what we're offering! So why wait? Join us today to start your journey toward becoming a pastel painting artist!

Keep showing up for your creative dreams,

Alain

A New Lesson To Inspire You!

Are you looking for inspiration today?
Look no further! 

I’ve got a brand-new video lesson for you to get those creative juices flowing. Let’s paint a vine ripe red tomato together so we can enjoy the richness of painting with red as we practice using deep values and saturated colors. This luscious little painting will take you less than an hour to create and provide you with a wonderful jolt of inspiration.

Red is an inspiring color, but it can be deceiving to paint. If it gets too light, we'll lose valuable color impact.

In this video, we’ll cover how to keep your color values on target, so your vine ripe tomato looks deliciously rich and red. Are you ready to paint a red tomato together? Join one of our upcoming classes or workshops where we explore different techniques together.


Artist Hack! The Tape-to-Tape Method

Do you ever find it frustrating when you are working on a pastel painting and your marks keep bumping into the tape that overlaps the edge of your paper?

As pastel artists, we want to take advantage of the direct, energized mark-making that pastels provide. From sketchy lines to big bold side strokes, one thing is for sure. We don’t want anything to get in the way of making those marks. Like tape! 

I have developed a simple yet effective way of taping up my pastel paper that allows it to be securely mounted to the backing board, without any tape overlapping the edges. This method can be used for unmounted papers or fully mounted boards. I call it the tape-to-tape method, and I’ve been using it for years. Let me show you how it’s done. 

In this video, I’ll reveal a tape-to-tape method so you can create bold and free marks beyond the edges of your paper! Download the Tape-to-Tape Guide so you can follow along.

I hope this simple artist hack will help you make marks that are bolder, looser and freer than ever before. 

Keep showing up to the easel for your creative dreams! 
Alain 

How do I draw hair?


As an aspiring artist, you may have pondered the question, "How do I draw hair?" Hair, with its flowing strands and textures, offers a canvas of opportunities to showcase your artistry. Drawing and painting hair can be a truly rewarding experience, allowing you to infuse a sense of freedom and expression into your portraits. Today, I'm delighted to offer you some valuable insights into the art of drawing hair and various hairstyles, a skill that we also delve into more comprehensively in our Painterly Portrait Course.

The Beauty of Drawing Hair:

How to Draw Hair is a subject that I am particularly passionate about in my artistic journey. It's a fascinating aspect of portraiture because it allows you to embrace a loose and painterly pastel style, breathing life into your subjects. While I can't cover all the intricacies in this short post, I hope to provide you with a glimpse of the do's and don'ts when it comes to drawing hair

The Do's and Don'ts of Drawing Hair:

Drawing hair requires a delicate balance of technique and observation. Here are some essential do's and don'ts to keep in mind as you embark on your artistic journey:

✅ The Do's:

  • Look for the large shapes first: Begin by identifying the major shapes of hair and block them in with simple values as a tone.

  • Follow the big pattern of light and shadow: Squint your eyes to simplify the value shapes created by light and shadow.

  • Sketch the values you see: Draw what you observe, not what you assume. Even blond hair can appear darker in shadows, so accurately depicts what you see in your hair reference art.

  • Look for the suggestion of detail: Instead of focusing on precise descriptions, aim to suggest details in the well-lit areas of the hair, not in the shadows.

  • Use a variety of mark-making techniques: Experiment with different mark-making methods to create the surface effects of hair whether it is straight, curly, or texture hair mark-making will help you to its texture and style.

  • Use a variety of edge qualities: Vary the sharpness and softness of edges where hair meets skin, clothing, and the background. The transition can be soft at the hairline but harder like a pencil drawing where it overlaps the face.

🛑 The Don'ts:

  • Don't focus on the details first: Reserve detailed work for later stages of your artwork.

  • Don't focus excessively on surface texture: Avoid becoming overly fixated on the texture of hair, as it should not overshadow the overall masses.

  • Don't paint every hair: Instead of painstakingly rendering each strand, keep it simple aim to create the illusion of detail.

  • Don't be swayed by hair color: Focus on capturing the play of light and shadow on hair, rather than getting distracted by its color.

  • Don't use consistent edges around the hair: Create diversity in edge qualities throughout your artwork, ensuring that hair appears natural in various contexts.

  • Don't overload shadows with detail: Keep shadows subtle, reserving detailed work for the well-lit areas of the hair.

Unlock the Secrets in Our Portrait Course:

If you find this introduction to drawing hair intriguing, you'll be thrilled to know that our Painterly Portrait Course delves into this art form in great detail. In the course, we guide you through the techniques and nuances of capturing both simple and complex hairstyles realistically, ensuring that your portraits exude a sense of authenticity and depth.

A Sneak Peek: Drawing Hair with Vine Charcoal

To provide you with a taste of what awaits you in our Portraits Course, I invite you to watch the lesson below. In this video, I walk you through valuable tips on how to sketch and draw hair while using vine charcoal. It's a sneak peek into the world of lifelike portrait perfection that you can achieve with the right guidance. This technique is really helpful for drawing dark and black hair.

Join the Next Round of Our Painterly Portrait Course:

Are you ready to embark on a journey to master the art of drawing hair and elevate your portrait skills to new heights? Our Painterly Portrait Course is designed to nurture your talent, boost your confidence, and refine your techniques. By joining the next round of our course, you'll gain access to in-depth lessons, personalized guidance, and a supportive community of fellow artists.

Don't let your portraits struggle with hair. Let's make sure your next portrait has a remarkable "hair day"! Enroll in our Painterly Portrait Course today and experience the transformative journey of artistic growth and mastery. Unlock the secrets to creating portraits that truly come to life.


Painting a Cat in Pastel


Part 2 has arrived!

Our previous lesson brought a general impression of the cat to life, but we still have some work to do!

It’s time to meet up at the easel once more, so we can develop our furry feline with all the wonderful things we love about cats. Long whiskers, pointy ears, beautiful eyes, pink nose…🎉

By the end of this lesson, you’ll be purring with affection for the dazzling cat portrait that you've created. 

As promised, here is Part 2 of Painting a Cat in Pastel.

In this video I’ll teach you:

  • How to create the impression of fur by varying your edges

  • How to use light and shadow to paint a white cat with form and volume

  • How to refine without overworking so your cat looks fresh and lively

Click here to watch the video and let me show you how. And if you haven’t seen Part 1 of the lesson yet, you’ll want to head over and watch that here first. 

Be inspired,
Alain 

Want To Paint Your Furry Friend? 😻

Do you have a furry friend in your life?

Wouldn’t it be wonderful to paint your favorite cat?

Meet me at the easel, because in this lesson we’re going to paint a cat together in pastel! Enjoy Part One of this two-part lesson called, How to Paint a Cat in Pastel.

In this video I’ll teach you:

  • How to create the impression of fur by varying your edges

  • How to use light and shadow to paint a white cat with form and volume

  • How to nail the likeness from the start by getting the big shapes right

Click here to watch the video and let me show you how. 

Be inspired,
Alain 

The Secret To Bold And Fresh Color!


Thanks for giving me the opportunity to come along side you and encourage your creative growth throughout the year. It fills me with such fulfillment and joy to share painterly techniques and creative insights that help you flourish so you can make an impact through your art.🙌

I want to express my gratitude to you by sharing a lesson on how to get to bold, expressive color in your paintings filled with freshness and excitement. Would you like to know the secret? Color studies!

Enjoy this video lesson on Color Studies and know that I am so grateful we can share our creative journey together.

Ready to jump into more lessons and more hands-on techniques like these, join us in one of our Pastel Painting courses where we dig deeper into various pastel techniques such as these.

Be inspired!
Alain


Take Your Viewer on a Journey

It’s fall here in Connecticut, and I have recently been enjoying painting country roads. I find them to be such a beautiful metaphor for the journey of life. Meandering paths to unknown destinations, embracing the beauty around us, and taking the road less traveled. These country roads remind us that life is so much more about the journey than the destination. They also give us a great opportunity to design the flow into our work.

I would love to share a few ways you can strengthen your design in your landscape paintings. 


☑️ Compose with Thumbnail Sketches

When it comes to designing the flow, it’s always the right time for thumbnail sketches to search out your composition. Thumbnails help you to simplify the basic values of your scene as you break it down to the basic abstraction and look for depth, flow, shapes and structure.

☑️ Anchor Your Focal Point 

Consider the place in the scene that really attracts you to it, the area that calls your interest. This is the focal point. When you identify this spot, you can consider how the structure of the composition will lead you into and through this important area, then assess other parts of the scene that may need to be cropped or altered in order to keep the emphasis on your focal zone. A focal point doesn’t need to be a parking spot in the painting, it can be a lovely place to linger along the way. 

☑️ See Value Masses 

Simple value masses are critical to strong design. You should narrow them down to just 3 or 4 basic values for thumbnail sketching. Keep them simple! Be sure to squint your eyes and look for strong abstract shapes, rather than focusing on specific things like trees, fences, fields, and roads. Think abstractly in terms of light and dark value masses and try to eliminate details.

Alain Picard, “Gaining Momentum,” 7x16” Pastel on UART500

I hope these tips help create a flow of design that takes the viewer on a fulfilling journey through your work. Keep creating and sharing the beauty you see with the world around you!

Be inspired,

Alain 

PS. Looking for a country road to paint? Enjoy this video of the European countryside and paint along! Landscape Painting Demo - Blue Country View

How To Finish Your Painting


Alain Picard “Radiant Sunset”, 10x10” pastel


It’s an all-too-common problem.

A painting begins with great enthusiasm. Things are going famously as you set off on your creative adventure. Fresh energy and crisp color leave you feeling confident after your first painting session.
But…a few things could use some refinement.


So you return to the painting for one more session to make needed adjustments. That’s when things get complicated.

Have you ever been there, Friend?

Your effort to refine the work ends up costing you valuable color freshness. Bold mark making from the start begins to slip away as you add the details. How do you refine a painting without overworking it?

That’s what this video was all about.

Watch me refine a radiant sunset scene with needed adjustments while retaining that loose, painterly quality that we’re after.

Is Pastel Drawing or Painting? The Answer to your question revealed…

Do you ever wonder whether pastel is a drawing or a painting medium? 

I often get asked the question, “Aren’t pastels used for sketching, and not a real painting medium?” It’s an understandable question, given all the myths that have surrounded pastel for centuries. Myths like, “Pastels are incredibly fragile” and, “The colors fade quickly.” These misconceptions have no substance at all, yet they have remained in the culture for generations. Let’s take a brief review of pastel history to guide us.

Left: Sketch by Leonardo's assistant, Giovanni Antonio Boltraffio, Right: Andrea Quaratesi by Michelangelo Buonarroti 1532

​​Renaissance masters like Leonardo da Vinci (1452-1510) and Michelangelo (1475-1564), used natural chalks for drawing and creating preparatory studies. It was from this origin that the medium of pastel was born. Originating in Northern Italy in the 16th century, it was produced from pure powdered pigments mixed with enough gum Arabic, fish or animal glue to bind them together. Pastel was only available in red, black and white at the start. Now, there are literally thousands of different hues and shades available with incredible light-fastness and an almost limitless shelf-life. 

Pastel became quite fashionable during the 1700’s, with pastel portraits garnering the same prices as oil commissions in Britain. It was considered to be the height of fashion to have your portrait captured with a “crayon painting” as the affluent called them at the time. 

Frances Cotes, Portrait of Topham Beauclerk, 26x21.5” pastel, 1756

Yet fashions shifted, and pastel fell out of favor by 1820, with few professional artists using it at all. Then in the 1860’s, impressionists like Edgar Degas began to use pastel in new and exciting ways, and literally transformed the public perception of pastels from a sketching tool to a legitimate painting medium. Before long, titans of impressionism such as Monet, Gauguin, Renoir, Toulouse-Lautrec and Matisse were using pastel.

Edgar Degas, After the Bath, 1890-1893, 26x20.75” Pastel on mounted paper

Degas demonstrated for us that pastel can be used as a brilliant and complex painting medium to develop richly pigmented works of fine art that now hang proudly alongside their oil siblings in the greatest museums of the world. 

Artists of today continue their exploration of pure pigment as a painting medium. Washes and underpainting techniques have developed on a variety of sanded pastel surfaces. This has enabled a range of painterly methods in pastel to take on even more variety. There is no limit to the ways pastel can be used to produce painting effects that last for generations with excellent lightfastness. From thin, transparent qualities to bold, opaque colorful marks, pastel is capable of bringing your unique creative vision to life.

“Entrance to the Mill,”12x8” pastel on sanded paper

“Entrance to the Mill” was recently created en plein air in Southern France, depicting a stone doorway that led into an authentic working French mill. Using an underpainting wash with pastel to create a transparent layer of soft-edged atmosphere, I then applied soft pastel directly over to add bold mark making and sparkling color. This kind of wet-in-wet approach to painting is generally considered the domain of oil painters, yet here we enjoy these visual qualities in pastel.

With access to higher quality and greater diversity of pastel sticks and surfaces than ever before in the history of art, it is a wonderful time to be a pastel painter. I want to invite you to join me in furthering the rich tradition of innovation that pastel has to offer, and take part in a colorful renewal that is taking place.

Let's paint!
Alain Picard

It’s Time To Get Uncomfortable!

We all aspire to grow, don’t we?

Whether it’s taking on a new subject, gaining mastery in our medium or trying something new, we want to get better. Yet it seems that creative growth is often hard to predict and difficult to maintain. Why is it that some are able to keep growing while others get stuck, and how do we keep moving forward even when it feels like we’ve plateaued? For starters, we've got to move out of our comfort zones into an experience that activates growth. 
 
Here's Four Ways You Can Get Uncomfortable And Grow:

1. Do It Differently – Whatever your standard operating procedure is as you work, change it. Mix up your routine. Work from the outside in instead of the inside out. Try a different surface and progress from dark to light instead of from light to dark. Change your brush size. Flip your work upside down and paint the reverse image, just do it differently to break the pattern that lulls you into sameness. Usually work small? Try going big!

2. Try a New Subject – Are you a landscape painter? Give still life a try. Do you usually paint portraits? Paint en plein air. A new subject or environment can bring with it entirely new ways of seeing the world with artists' eyes.

3. Set Limitations – We often think creativity results from greater freedom, but I have found that creative ideas thrive on limitations. Dr. Seuss wrote Green Eggs and Ham with only 50 words! Try a limited palette, set a time limit of just 30 minutes for your next painting session, or create a painting in 100 strokes or less. You get the idea. Limitations can foster powerful creative breakthrough in your work.

4. Gain a Fresh Perspective – Stimulating fresh creative ideas can also result from having your assumptions challenged. Take a workshop with an artist who has a different approach. Read an art book that will stretch your normal creative process. Invite feedback from a trusted source and find out where they think your growth opportunities lie. Invite a fresh perspective to stimulate growth.

These are just four ways to flex your creative muscles and activate forward movement. Just remember, learning is a joyful act of discovery, and you are capable of doing hard things! Consider the feeling of discomfort a sign of adventure.

“Crashing Waves” 9x9 pastel

I recently had to face my own comfort zone head on and take on a growth mindset. Requests were coming in to teach about waves and I was avoiding the subject entirely because, well… “I don’t do waves.”  I continued in my rant, “I’ve got friends and colleagues who are masters of seascape painting, what could I possibly offer on this subject of painting waves?”

After breaking free from the fixed mindset spell that I was under, I decided to face the discomfort, push past my fear, and surrender to the creative process instead of standing still. While it was uncomfortable and at times stressful to try something new, the result was quite invigorating and resulted in fresh growth for me as an artist. I found the subject matter to be exciting and new.


We’re all in this together, friend. I broke through my comfort zone and discovered fresh growth. Now it’s your turn to push out of your safe harbor and get uncomfortable. You’ve got this, and exciting new adventures await on your creative journey!

Keep painting and be inspired!
Alain