IAPS Portrait Demonstration

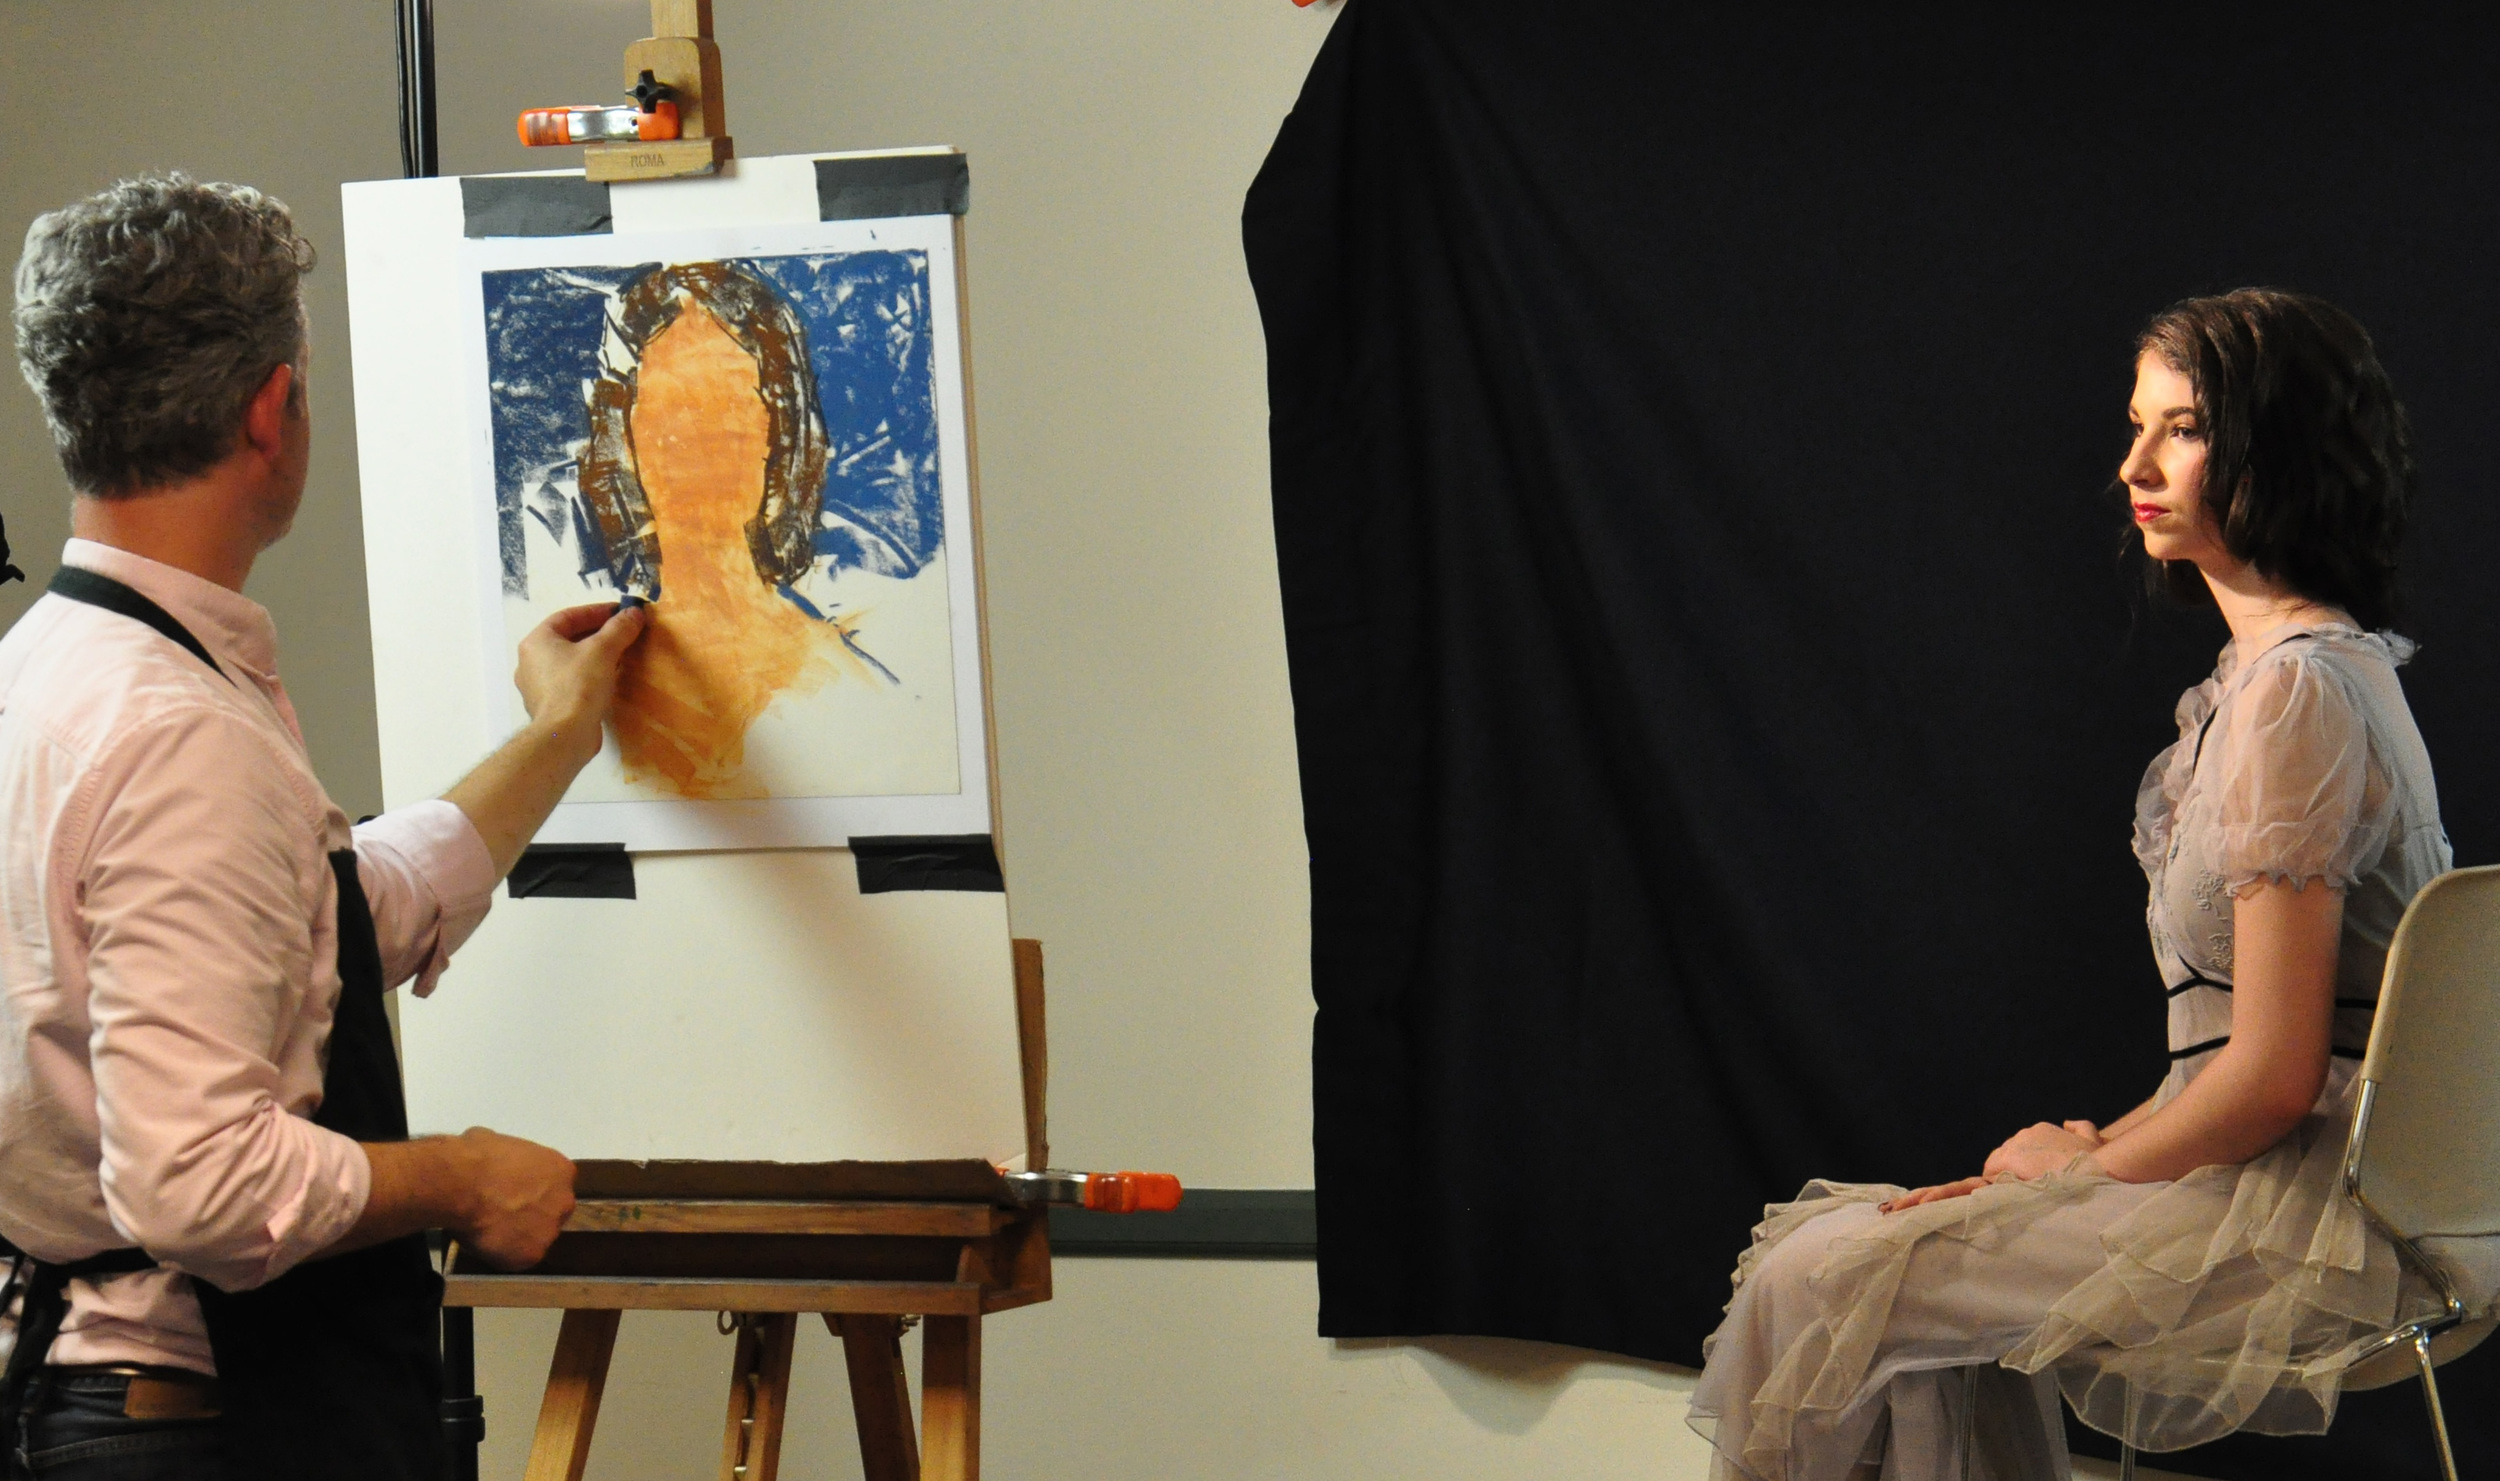
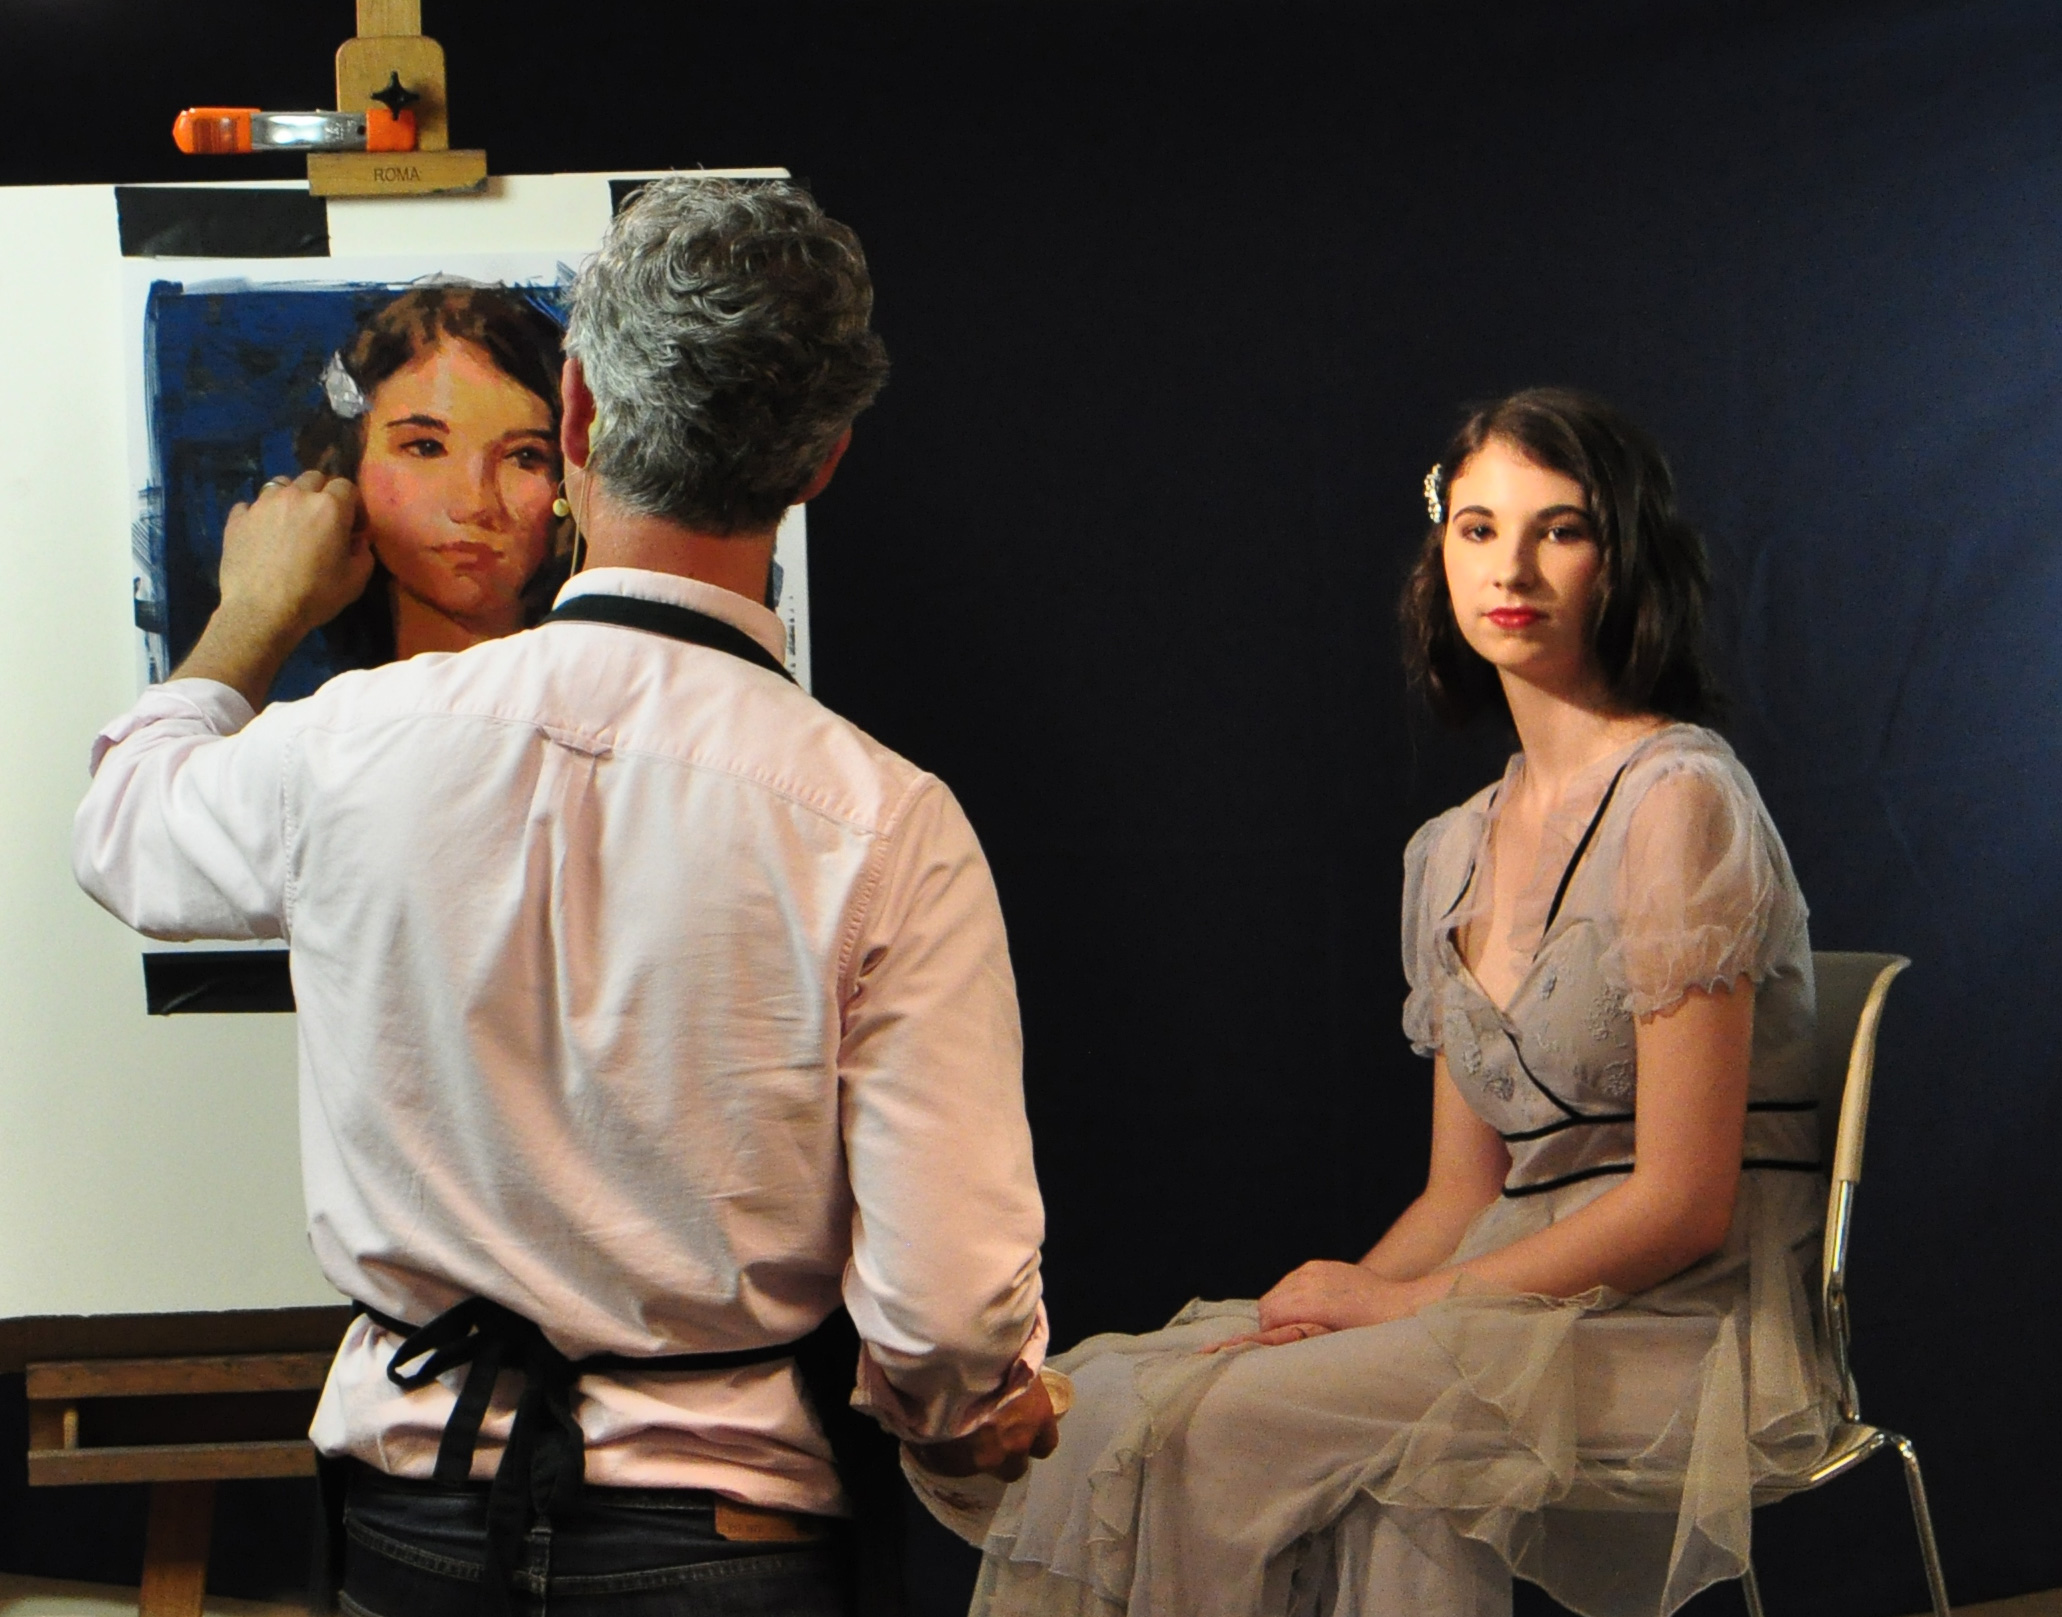
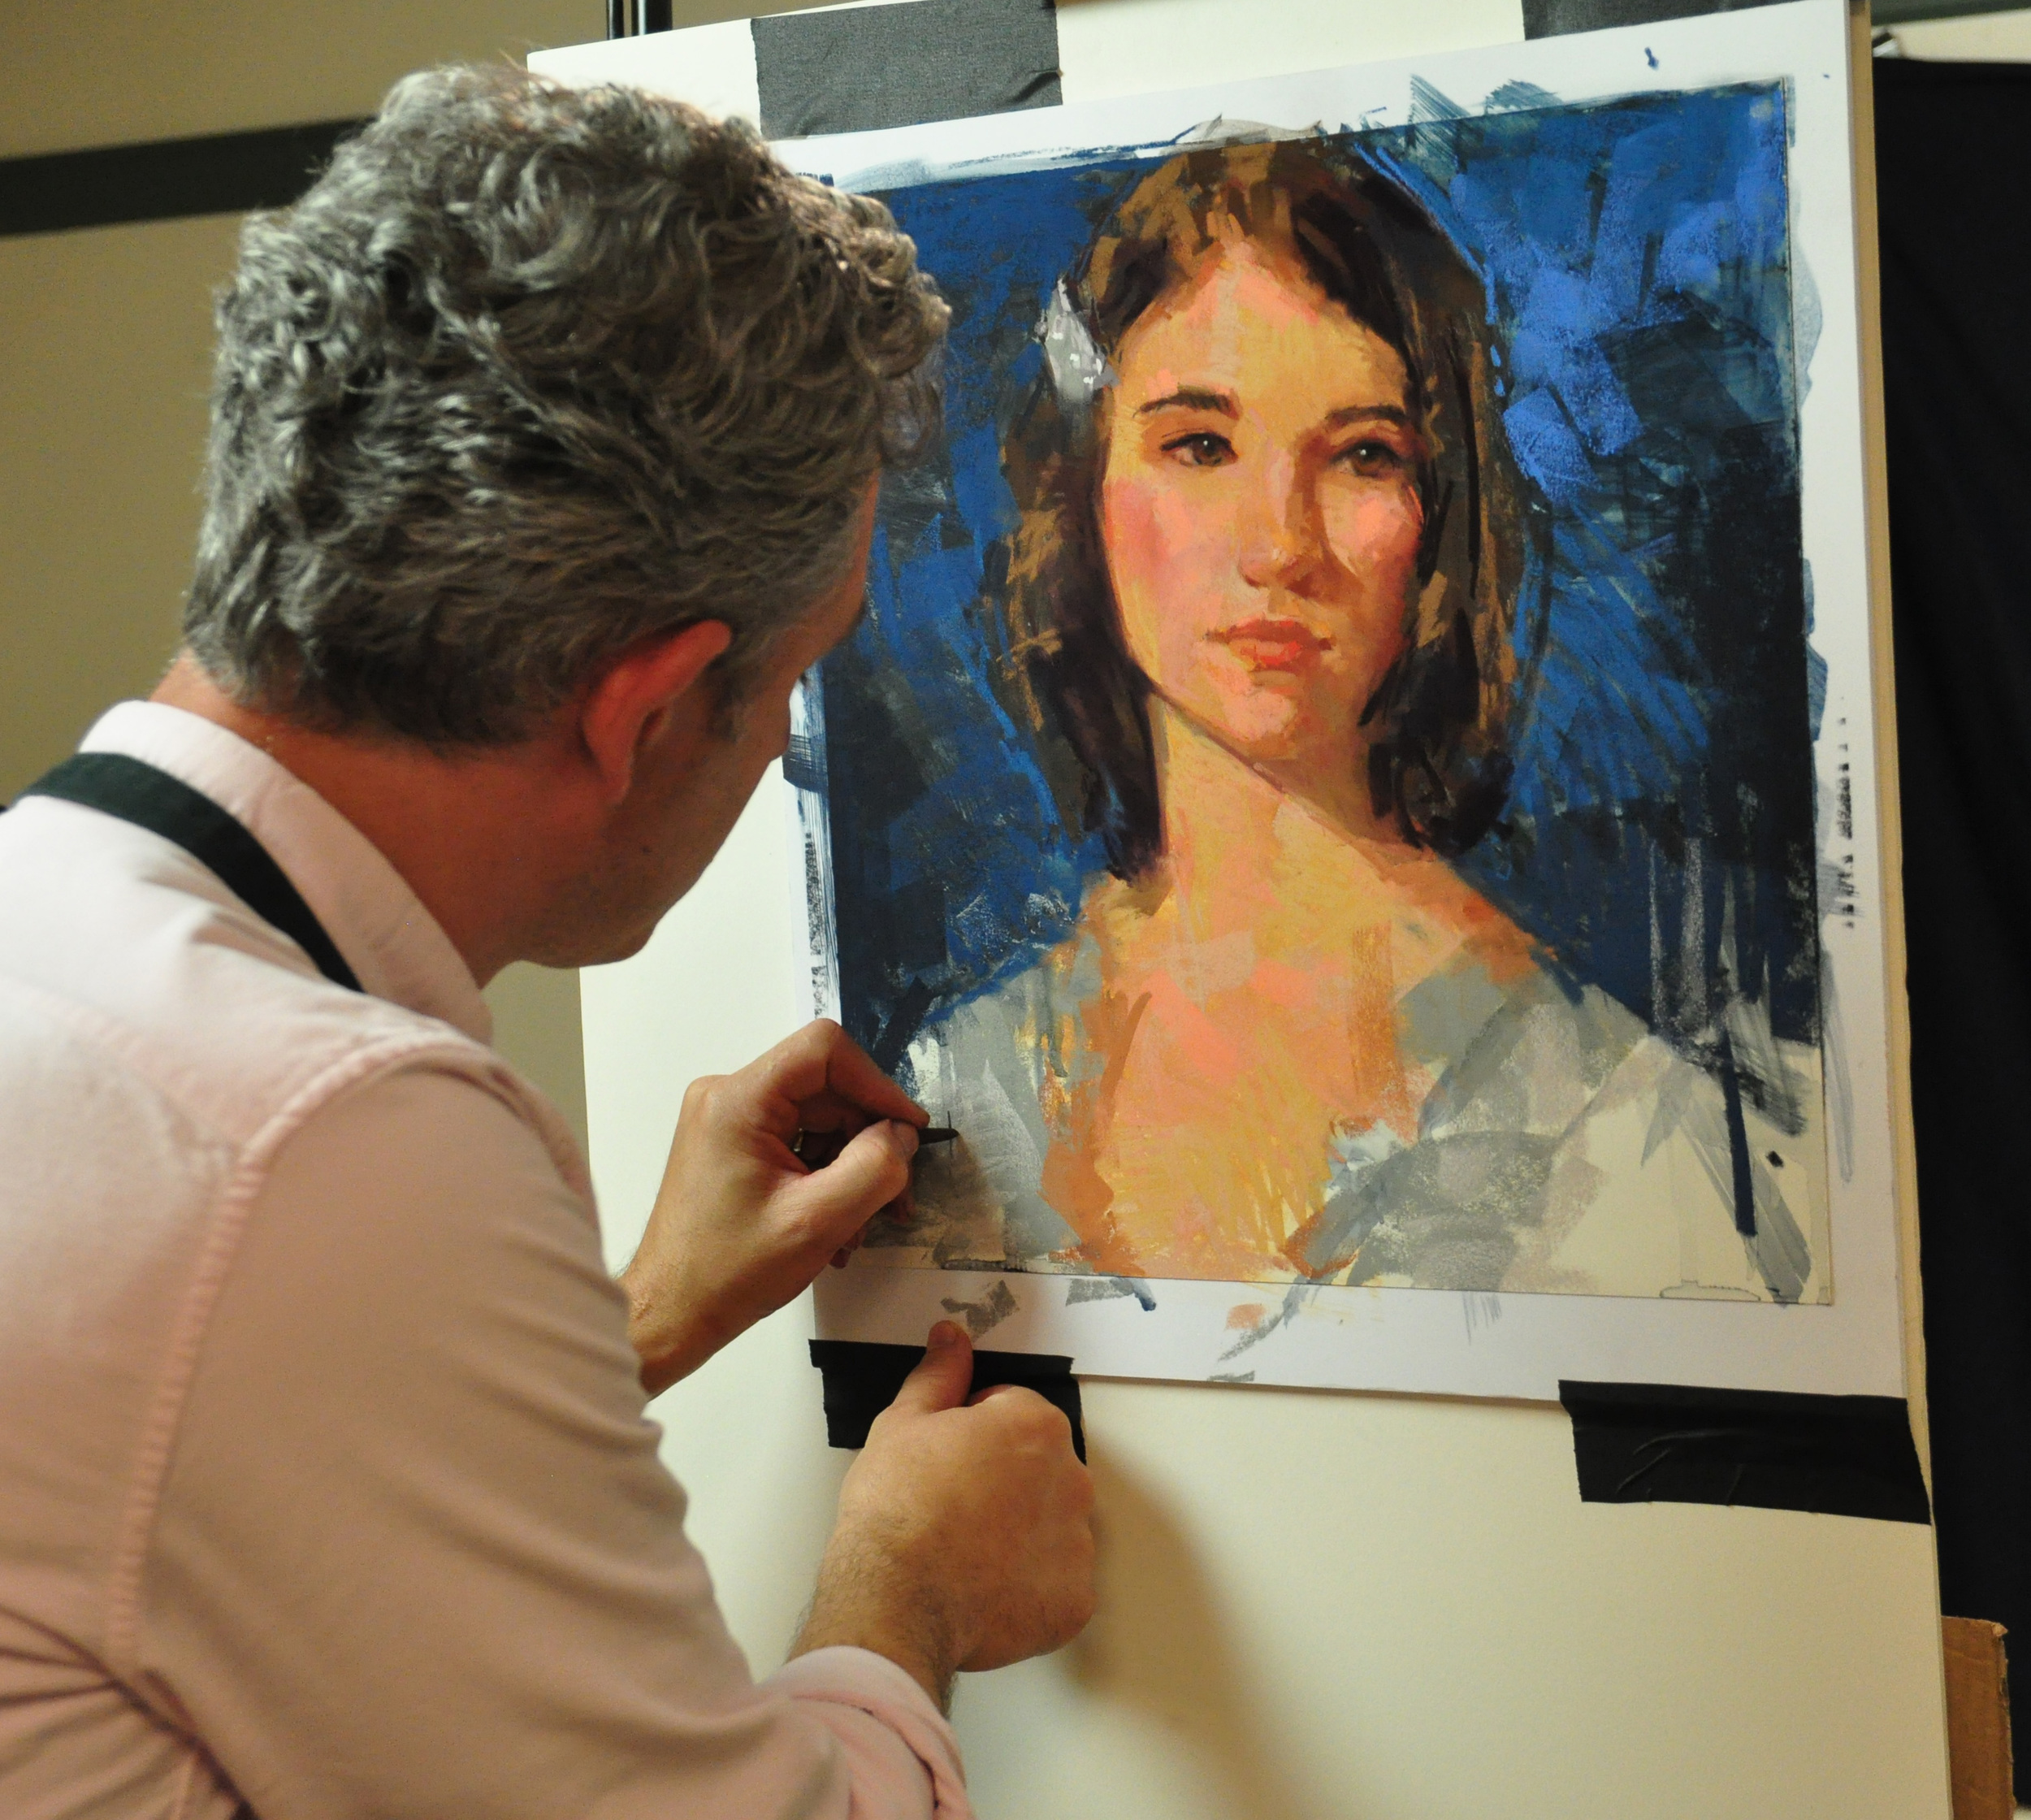
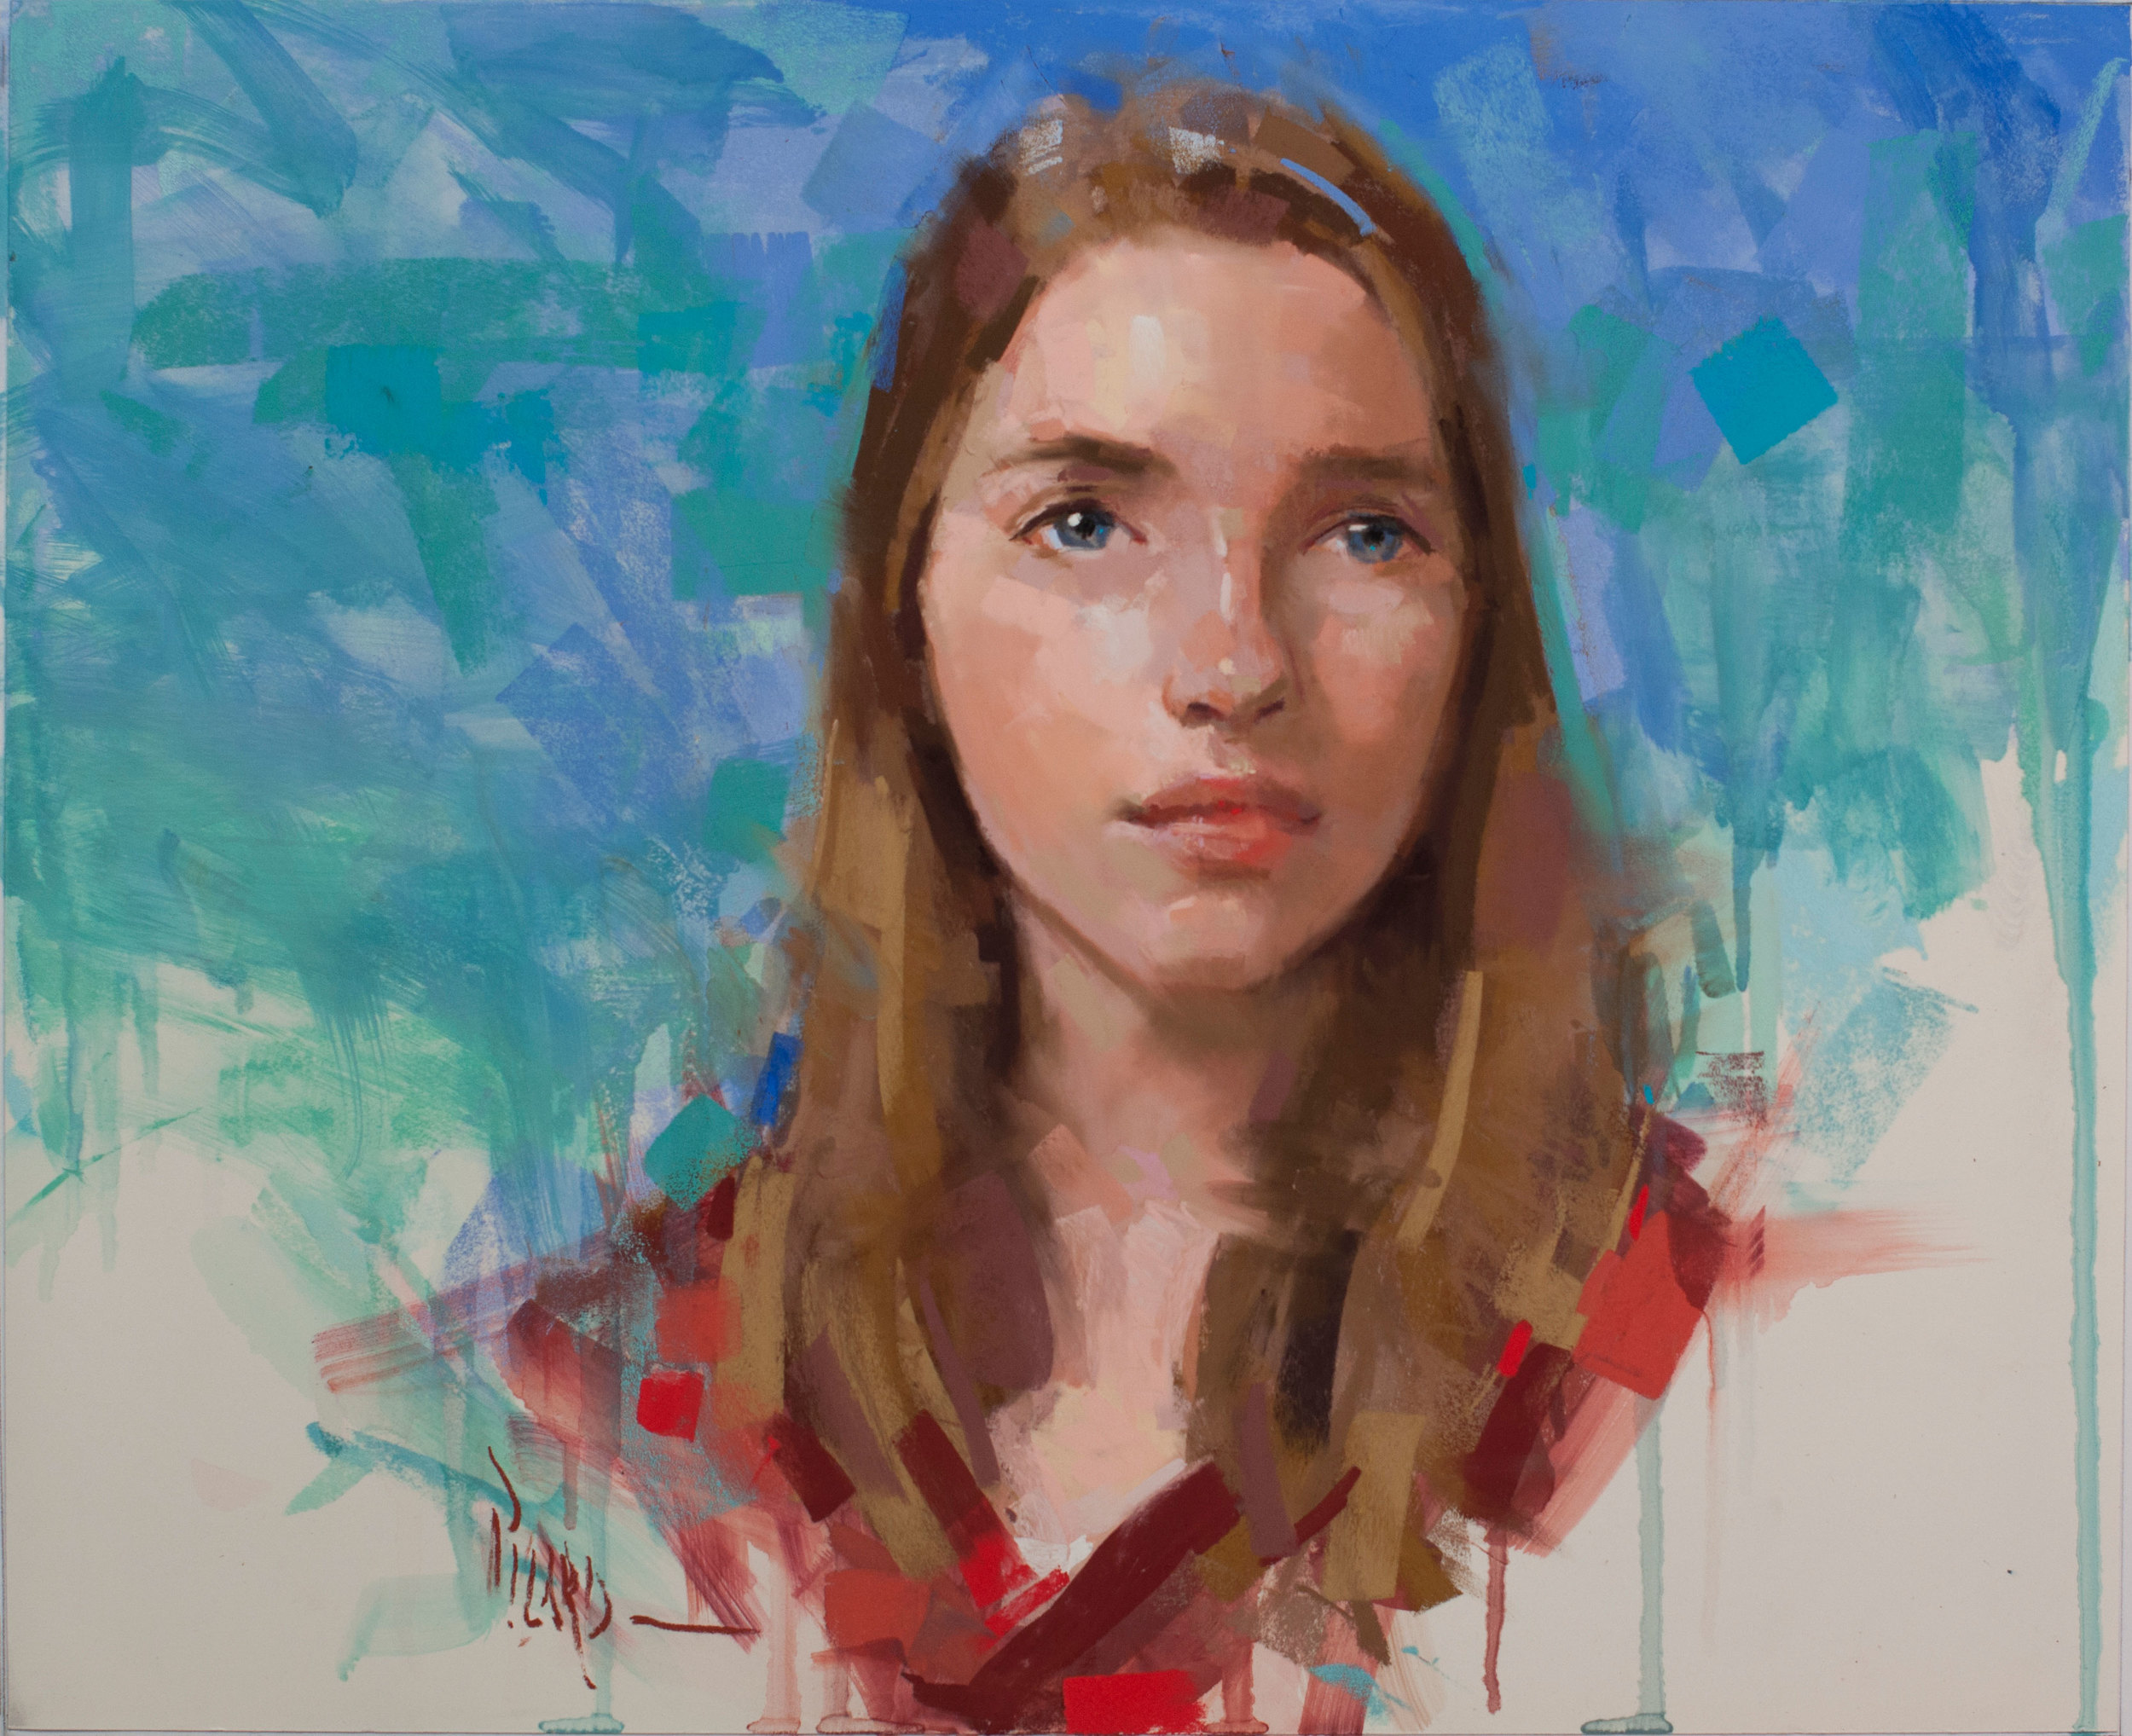
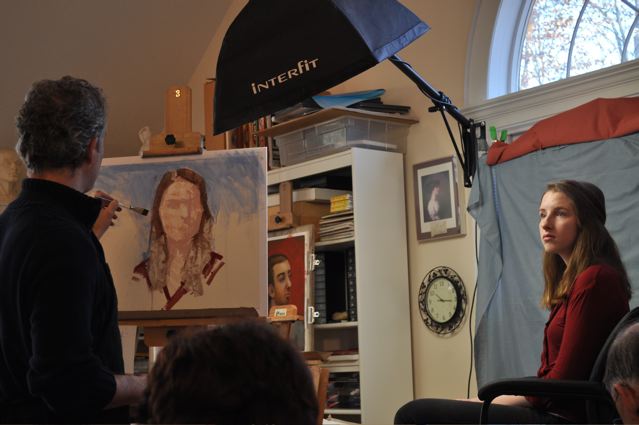
Attending the IAPS Convention in Albuquerque, NM was a creative highlight of the year. I was invited to give a portrait demonstration entitled, "The Painterly Children's Portrait." Our model was 17, so we just  made the cut there! I used an approach to painting this portrait that relies upon massing in the big simple shapes without any detail at the start, then progressing to the refinement of smaller shapes as the work develops. Here you can see the portrait at the first break, where I've washed in a basic skin tone color, and addressed all the major shapes of the painting. I've come to really enjoy using an underpainting with alcohol in my portrait work to keep things loose and simple at the start. 

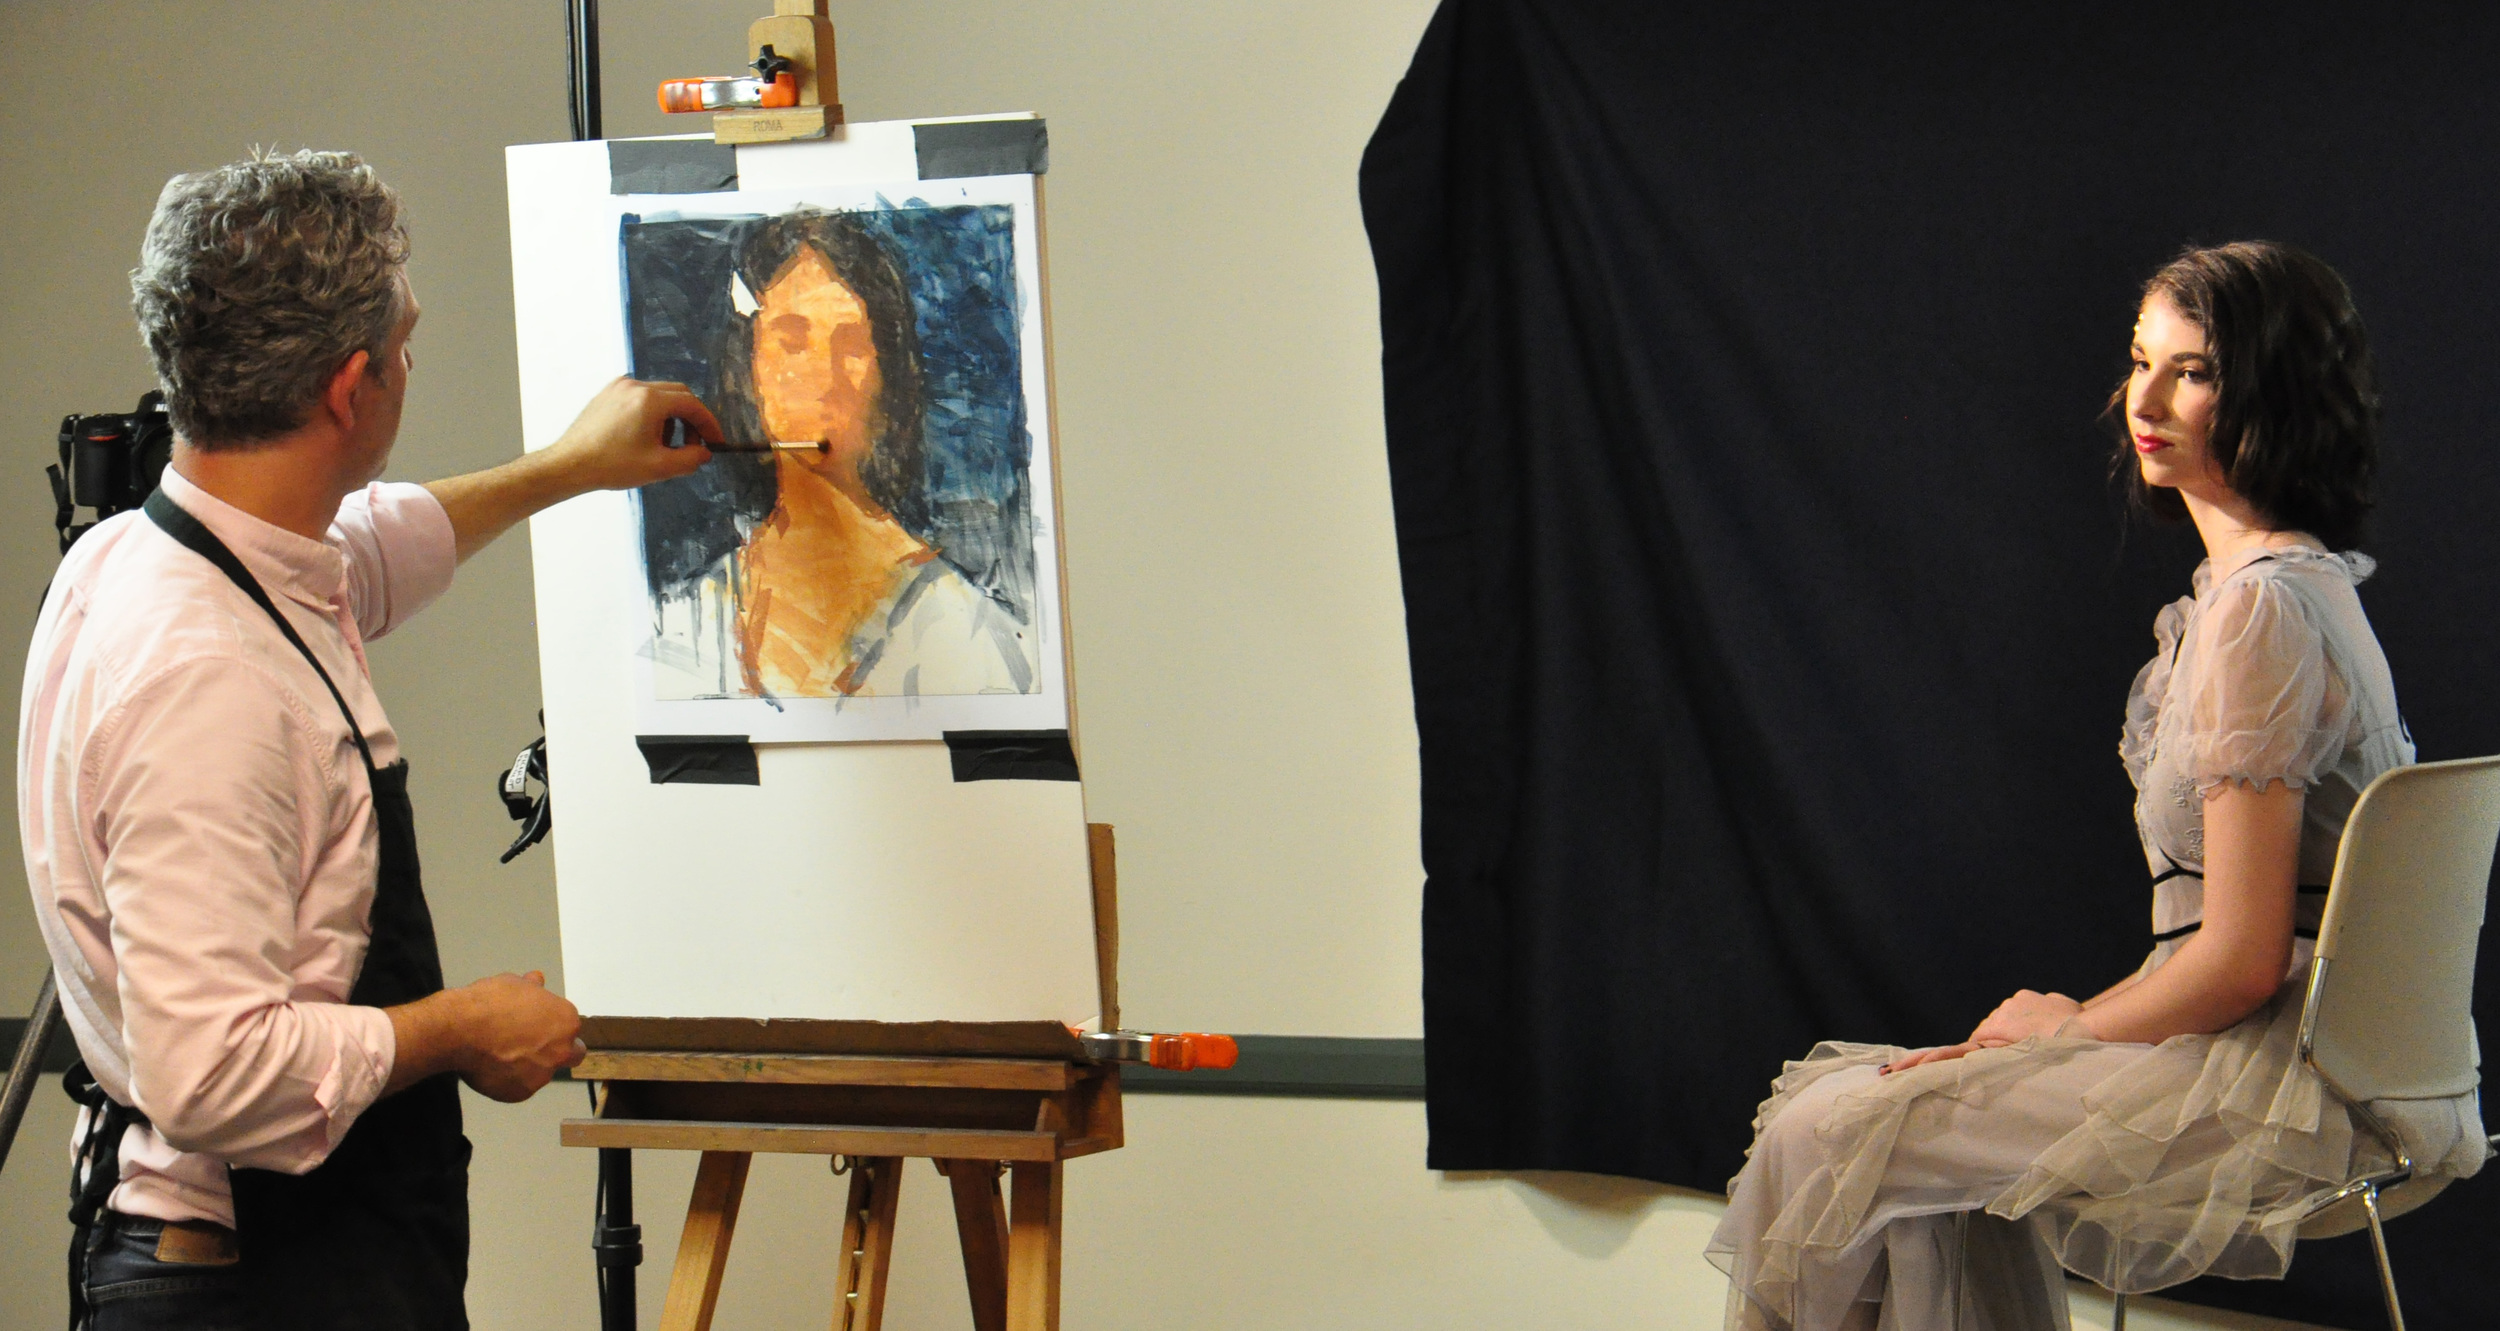
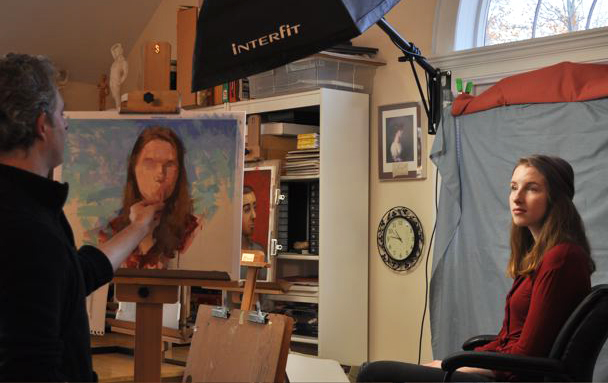
After about 90 minutes of work, I took a second picture of the portrait in progress. Here you can see that I've worked on anchoring the darks, developing the color relationships in the hair, shirt, and background, and beginning to address the smaller shapes of the facial area. This method of development can be known as, "pulling the portrait out of the fog". 

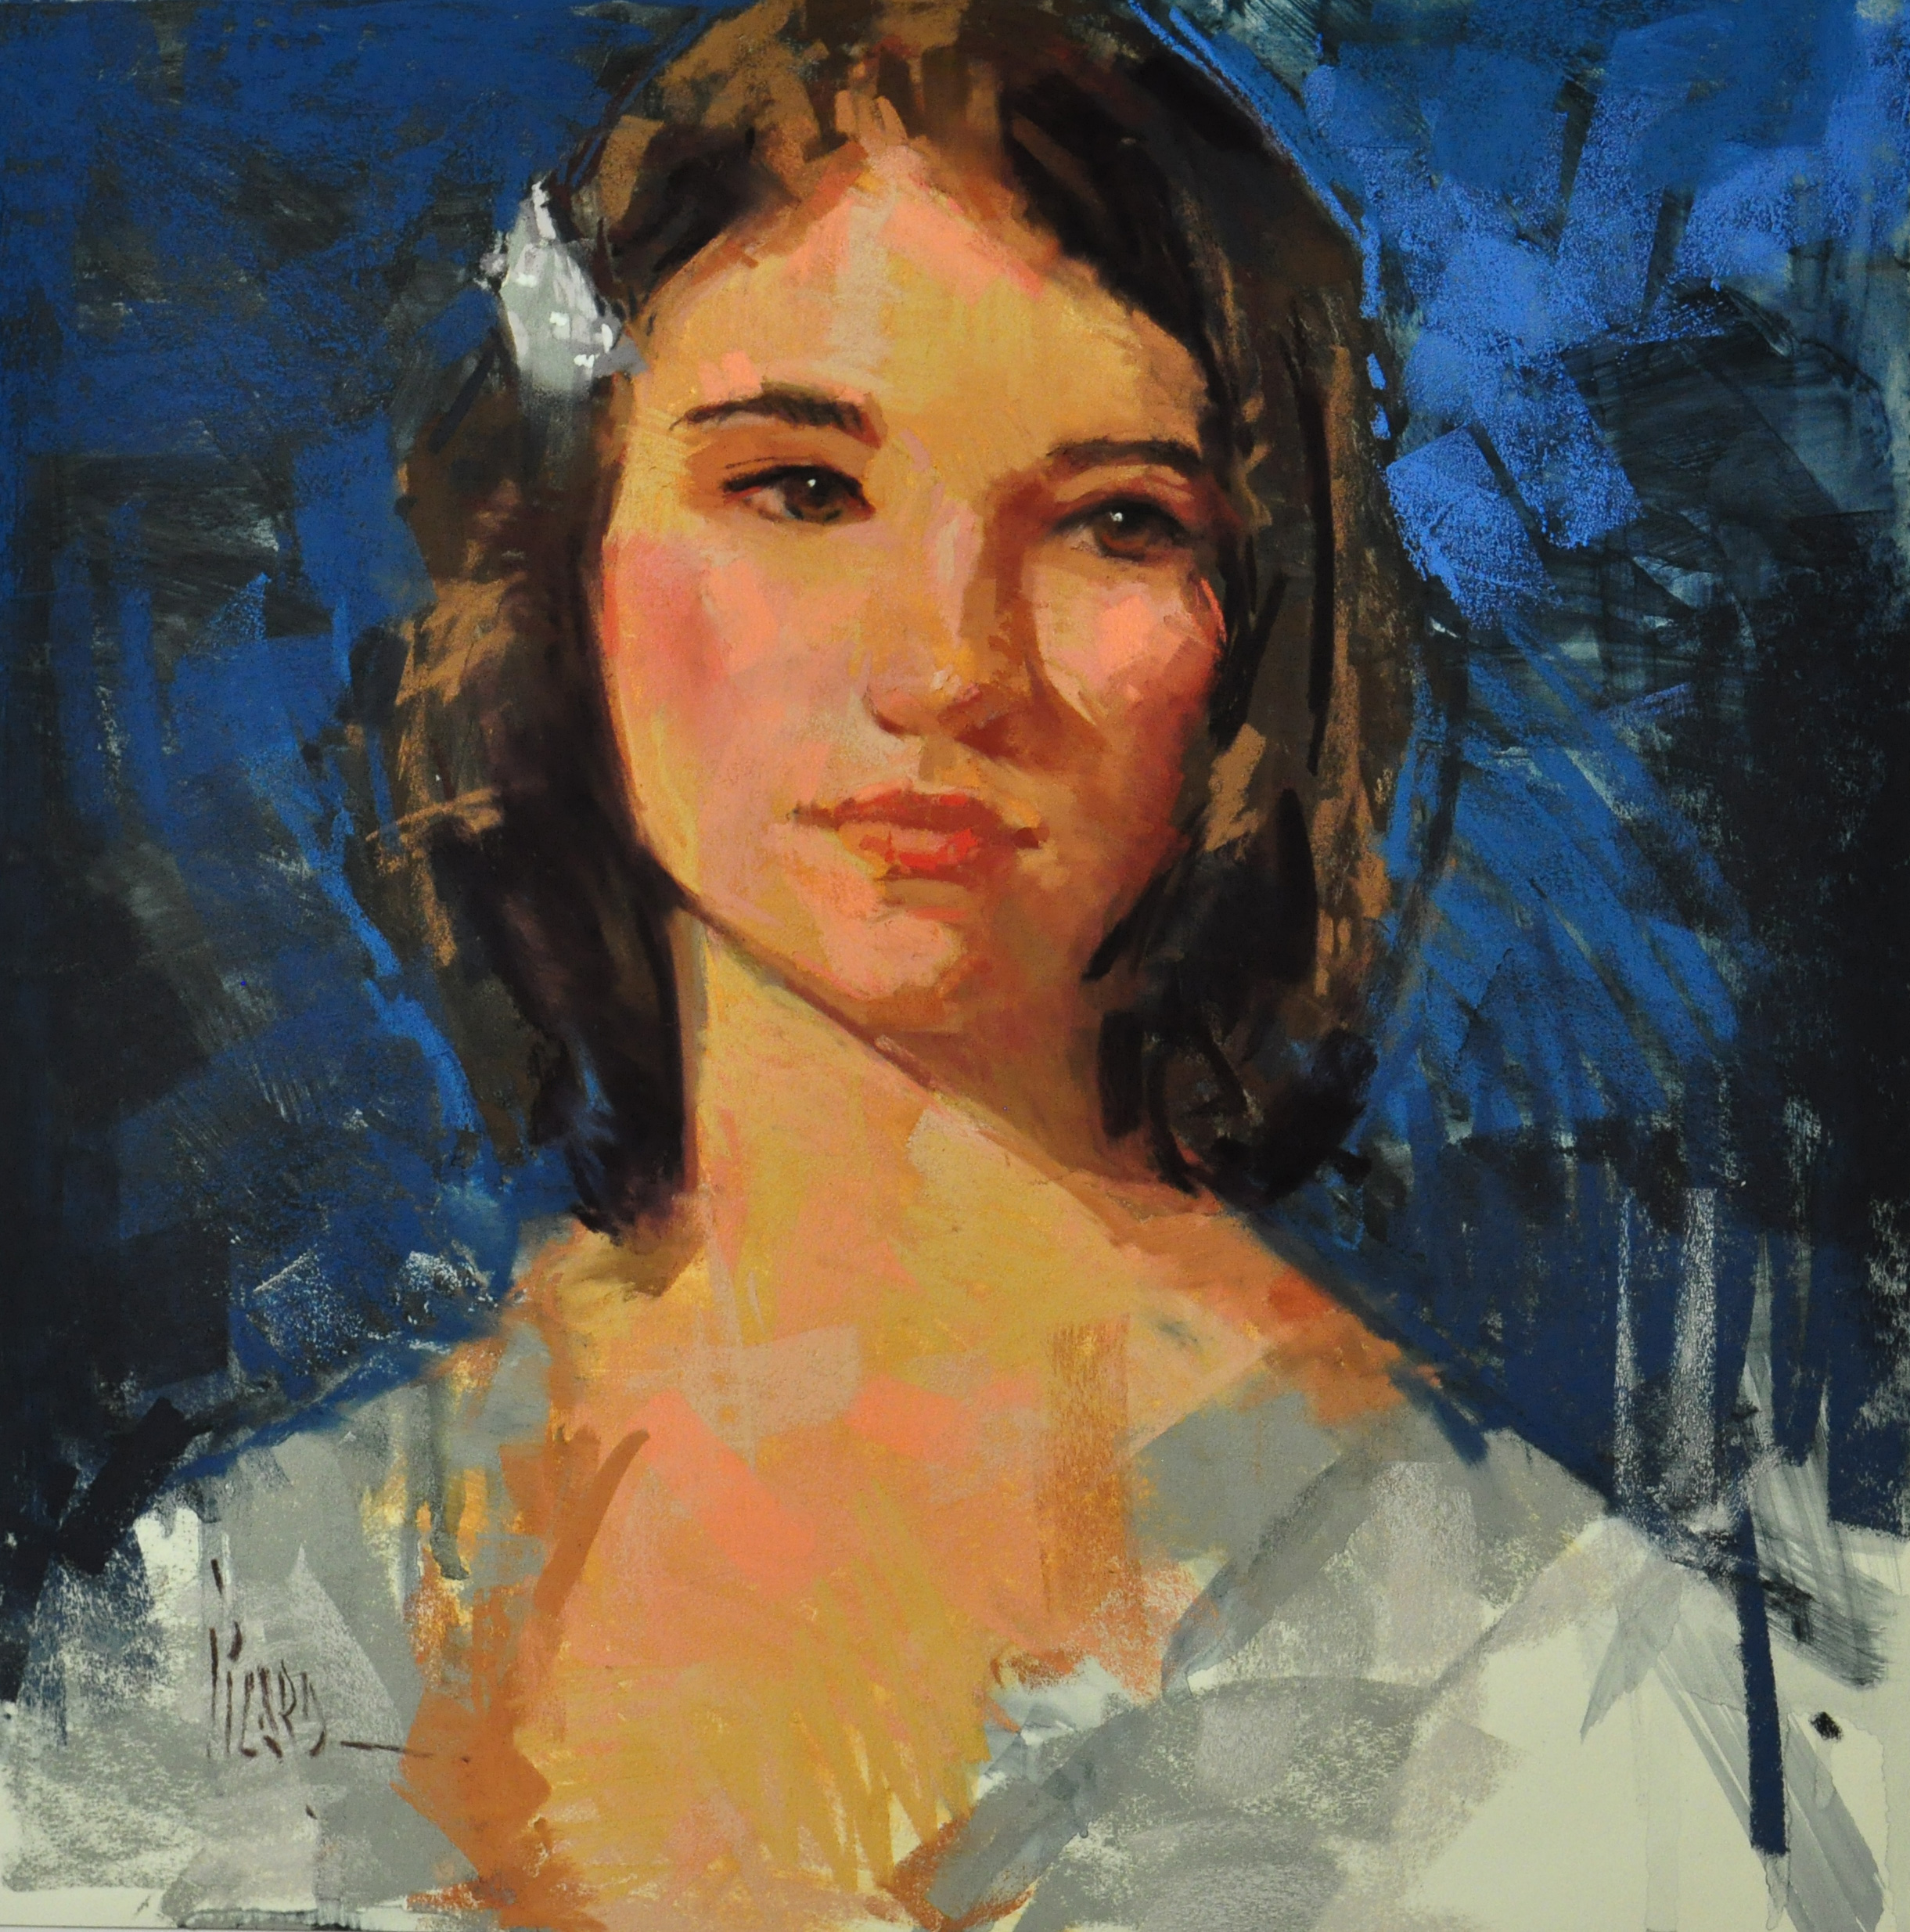
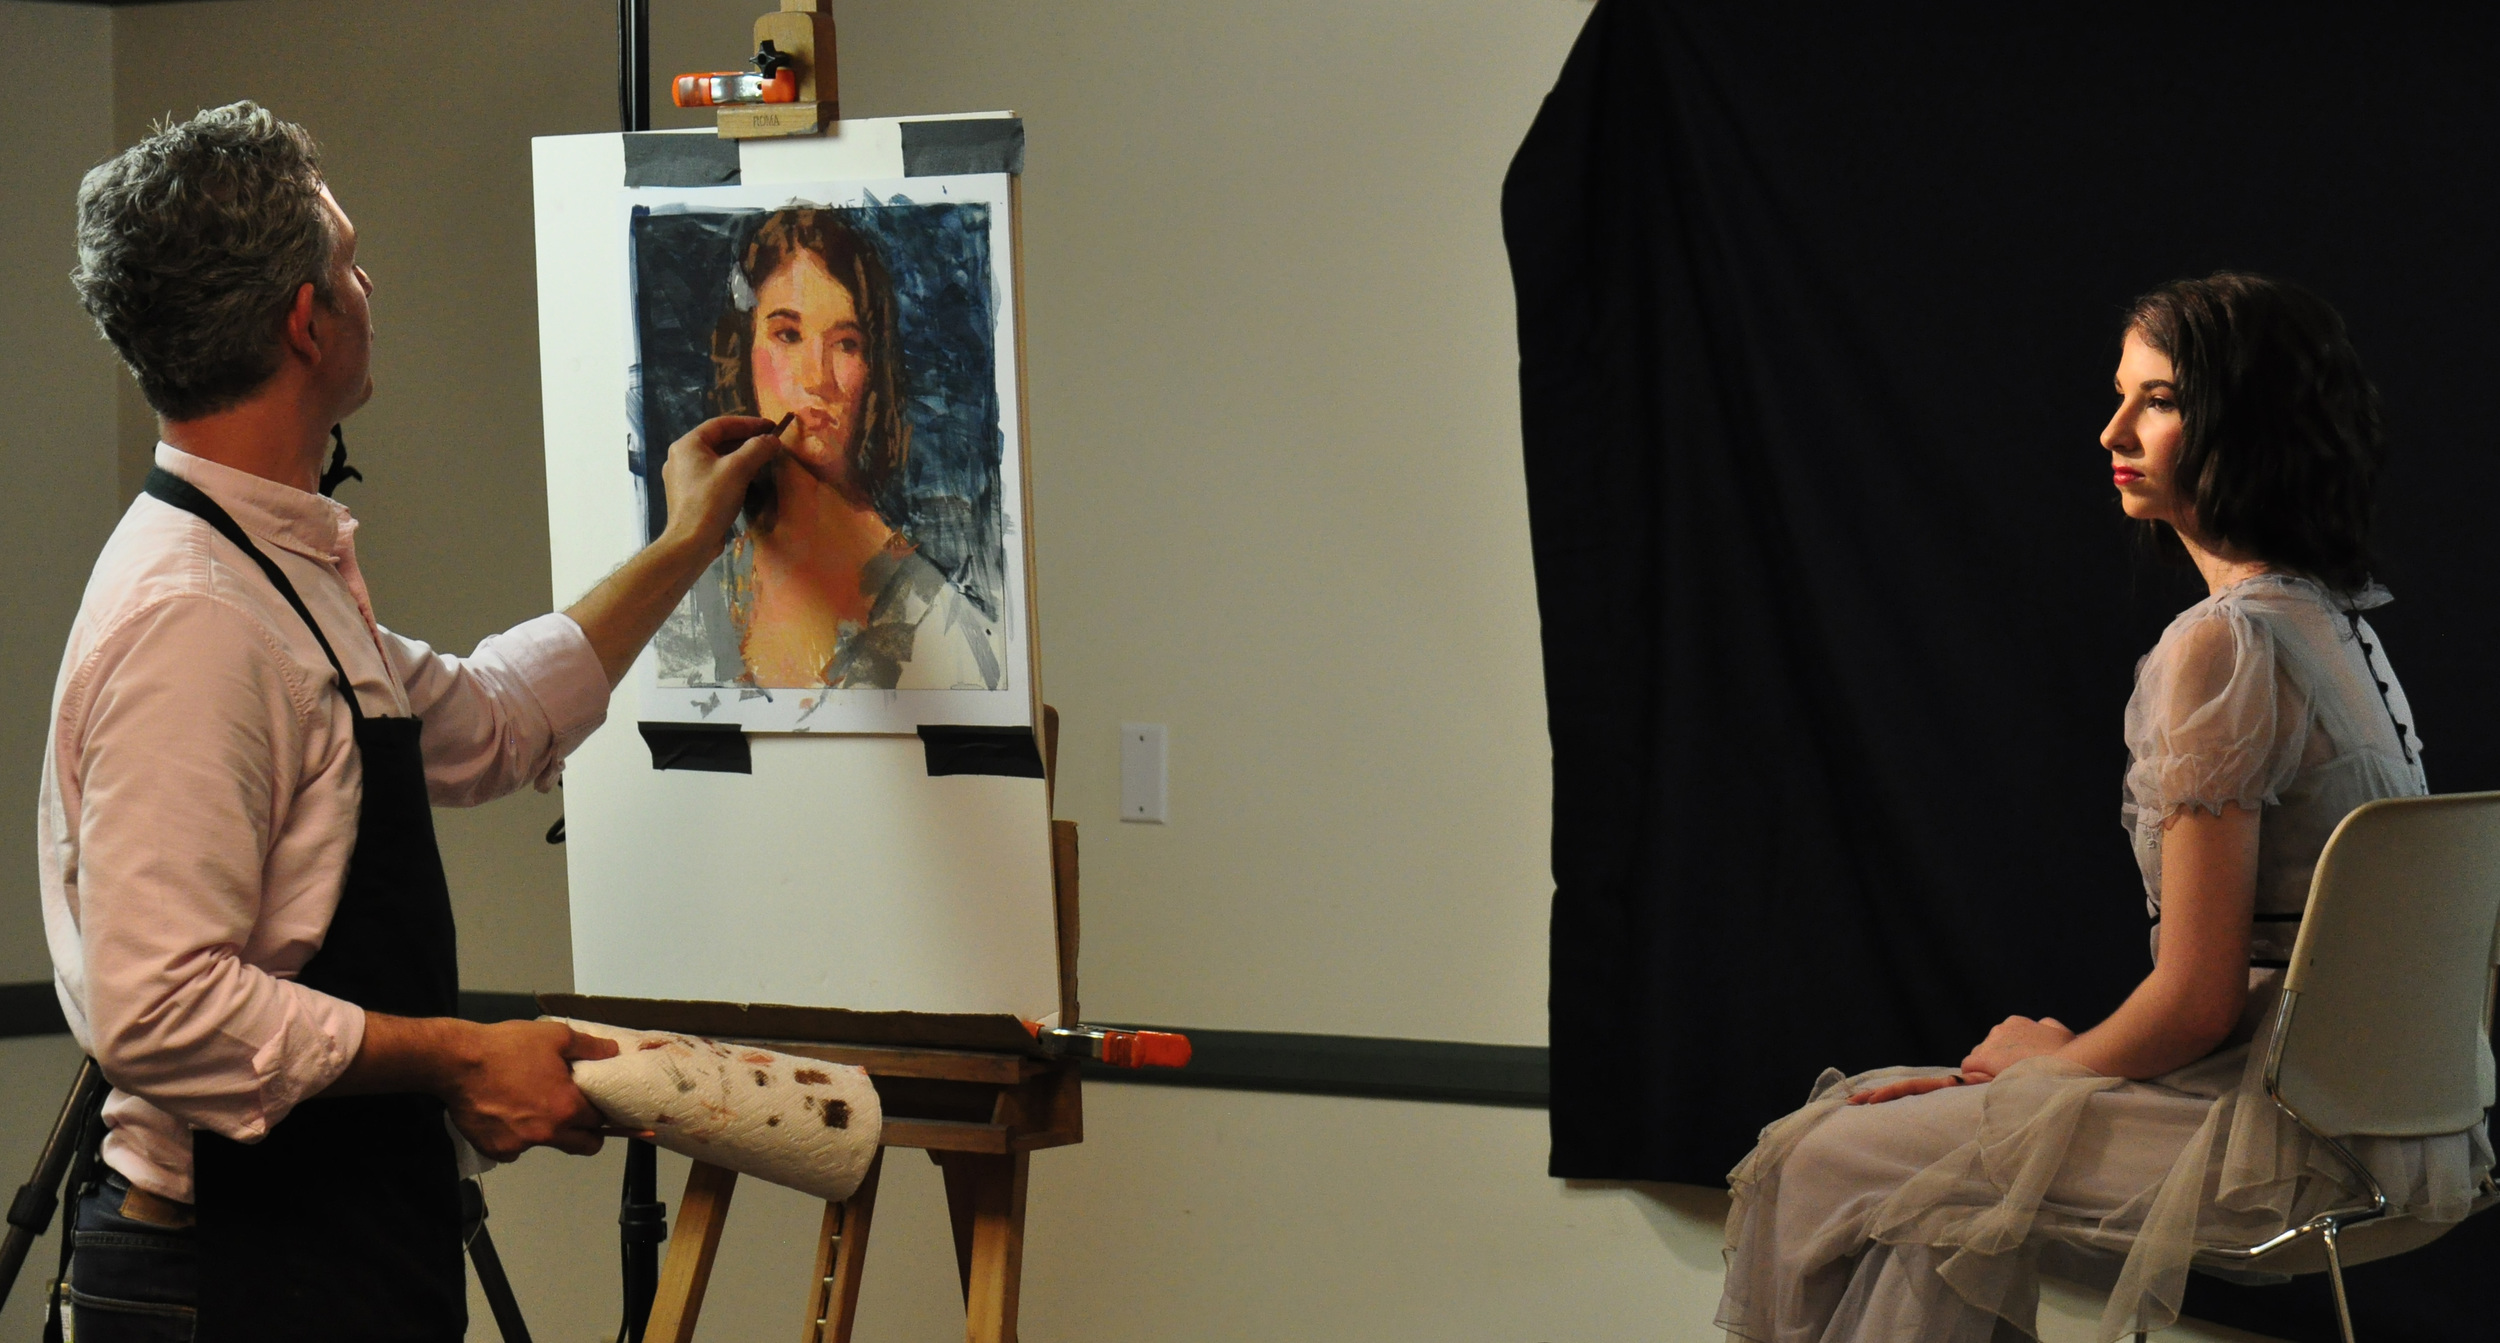
Here is the final portrait study at the end of our three hour portrait demonstration (about 2.5 hours of painting time). I continued to develop the smaller details of the face, as well as addressing the overall color harmony and accents throughout the portrait. I gave special care not to overdevelop the shadow areas, keeping them simple and quiet. I had great fun building up the skin tone colors in the face and the painterly texture throughout, taking liberty with color. Enjoy!

"Portrait of Kathleen" Pastel on Wallis Museum Grade 18x14" Collection of John Philbin Dolan

A Portrait In Period Fashion

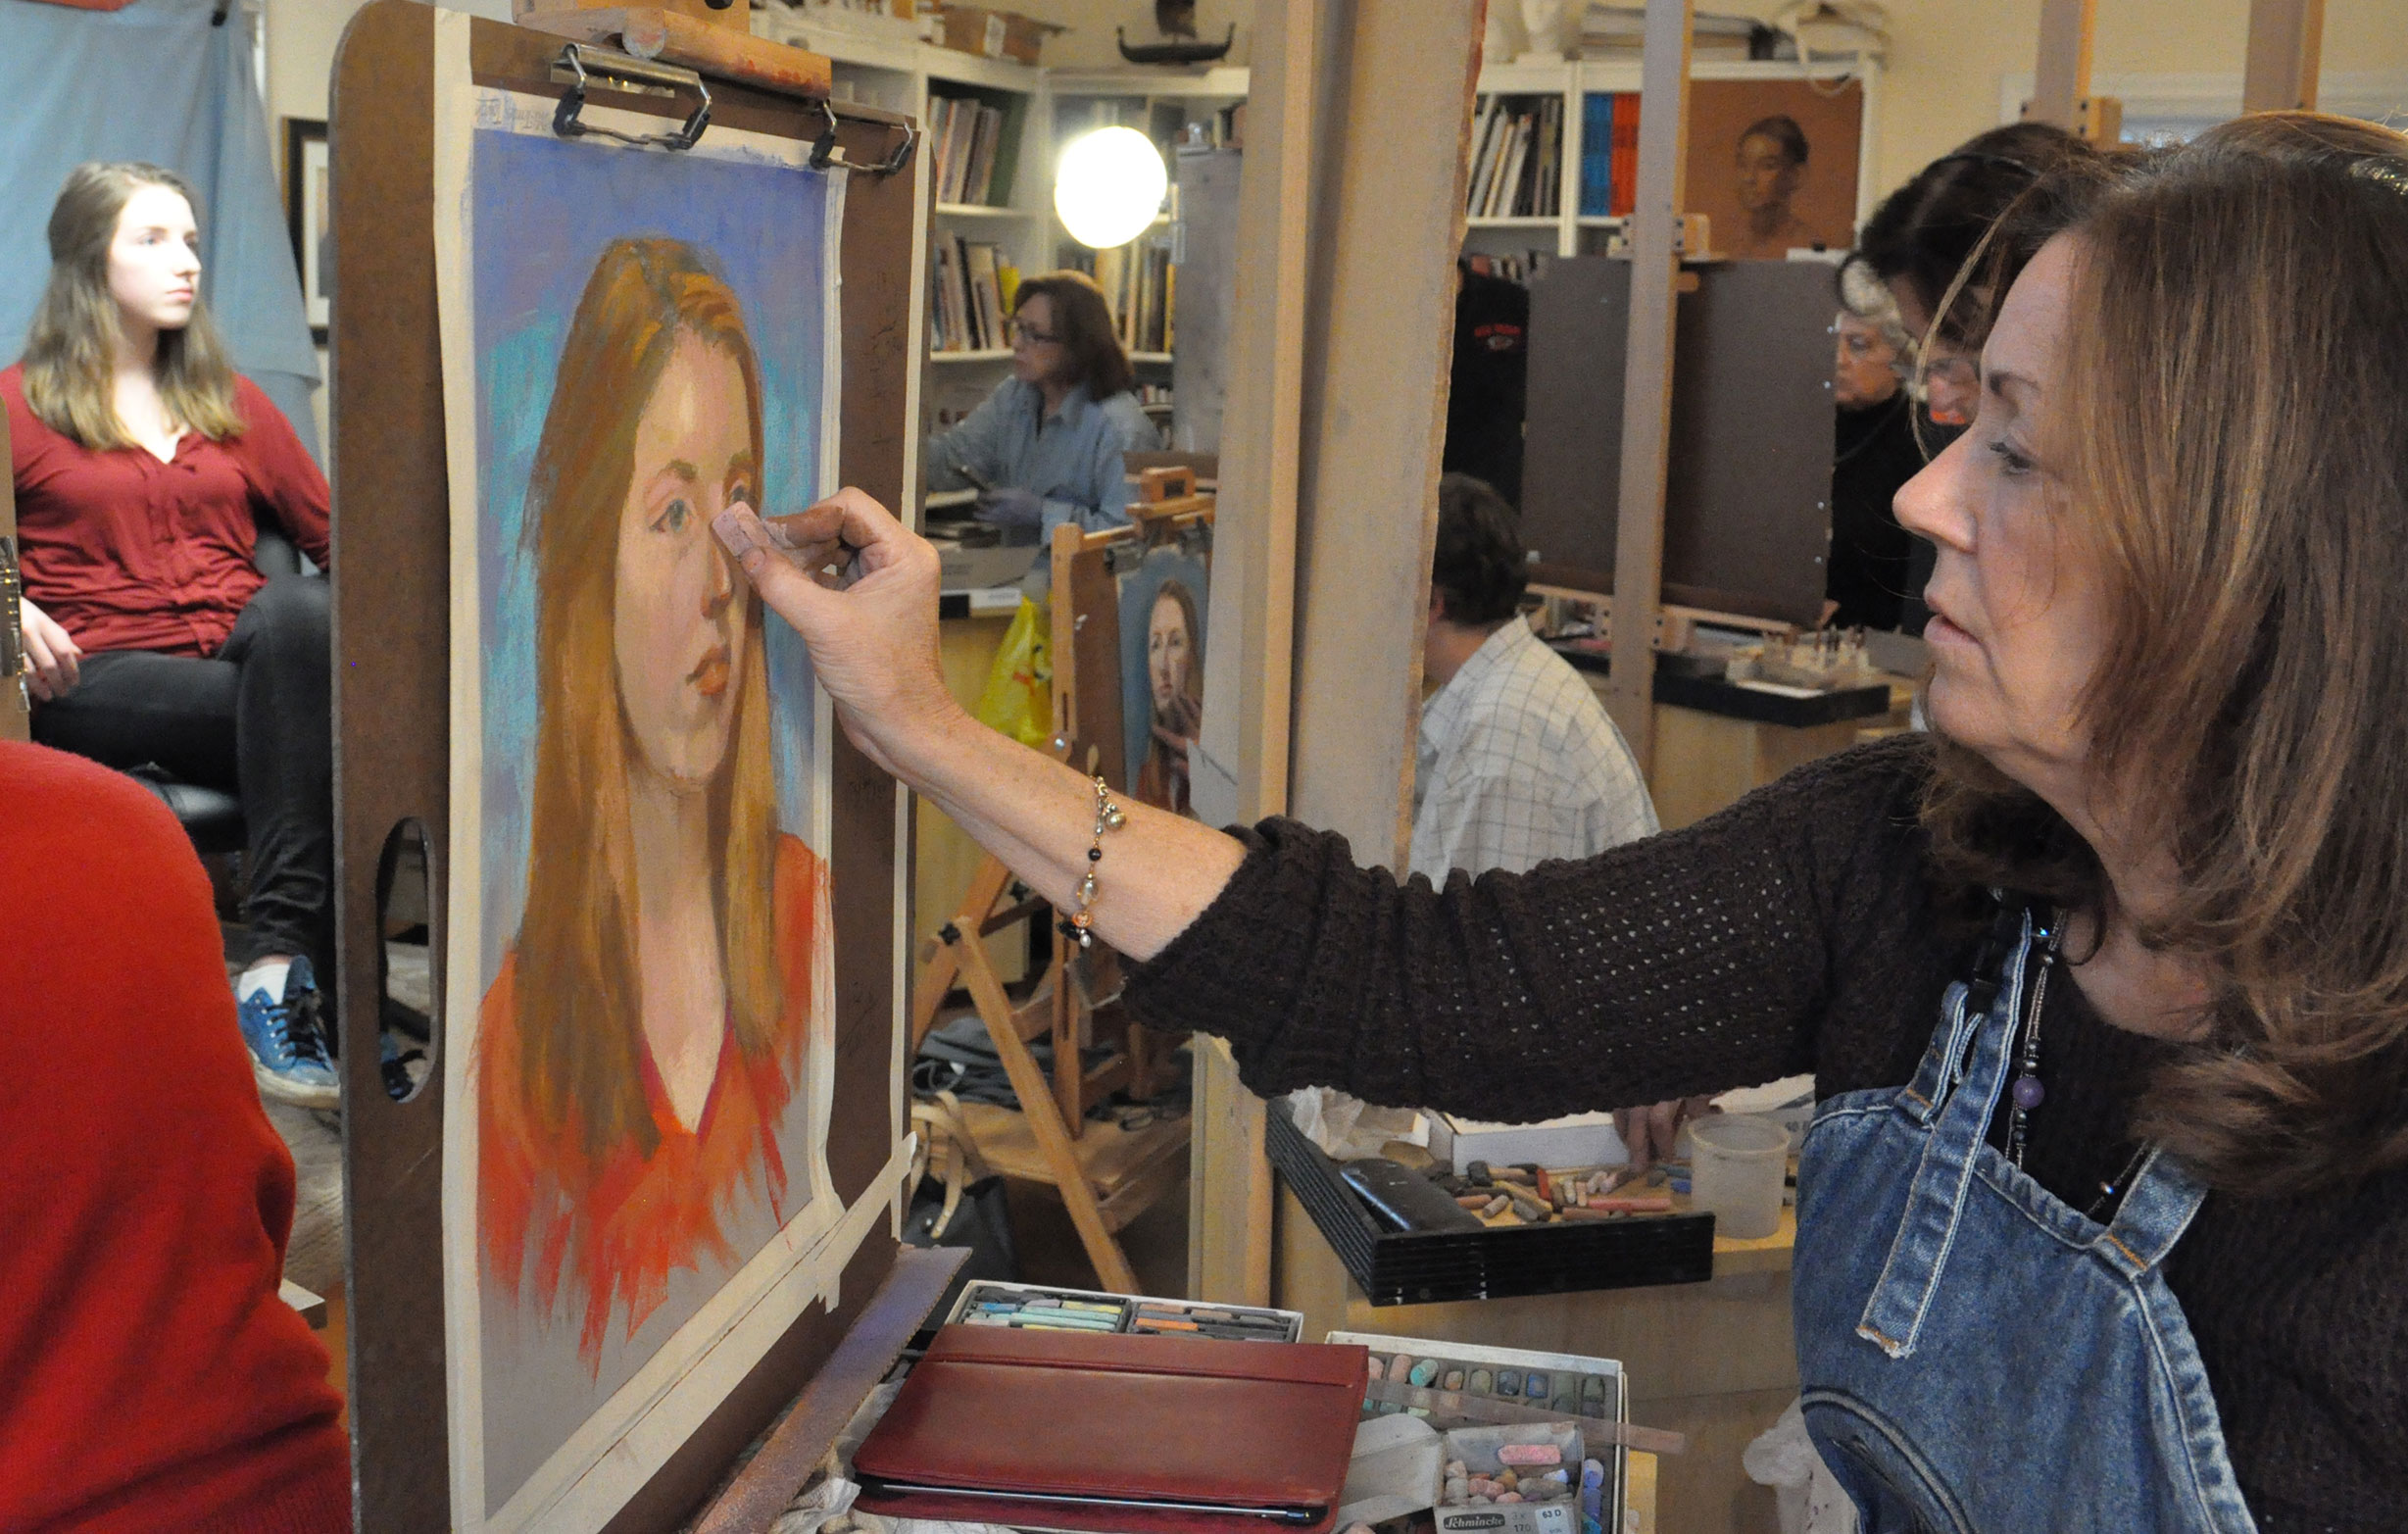
In celebration of the recent release of my instructional art book, "Mastering Pastel," my local library in Southbury, CT hosted a public portrait demonstration this week called, "A Portrait in Period Fashion," as part of their Downton Abbey series of events. Our beautiful model, "Lady Claire," provided much inspiration as the portrait developed. Over 70 attenders joined me in a grand trip back in time to the roaring 20's for two hours of portrait painting in pastel. Portraiture is a magical profession which has endured through the dramatic changes of the past century. Even with the advent of modern technology, it's still such a thrill to see a portrait emerge on canvas or paper! 

designing a still life

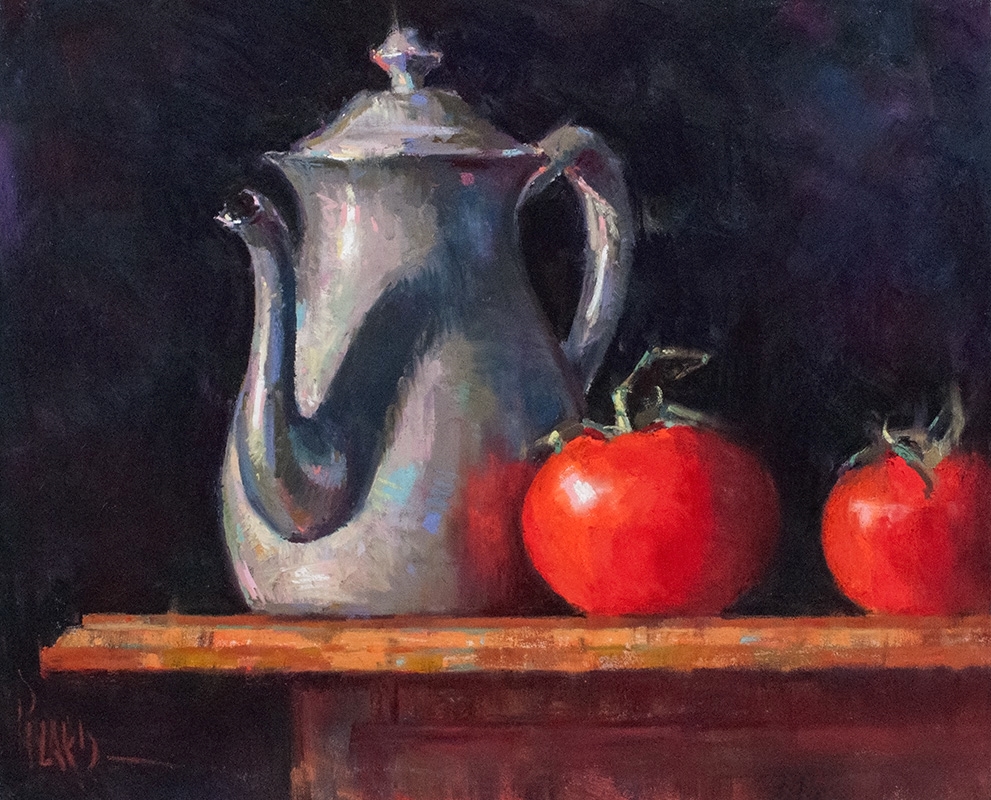
Great paintings don't just leap off the easel as a result of the ever-brilliant hand of the artist gracing the surface of the paper. No, great paintings are the result of careful planning, thoughtful design, and patient execution. Have I removed all the romance for you yet? Not to worry, there is still much inspiration in the process.  If you're not too discouraged, then continue reading to see how I created this simple still life using vine ripe tomatoes and an antique pewter teapot. There is always beauty to be found for all who are willing to quiet themselves and really look for it. 

Step 1: arranging the objects

The first thing I did was buy some vine ripe tomatoes at the local grocery store. I love the lush color, round shape, and wonderful greenish accents of the vines that these rotund vegetables provide. I bought this pewter teapot at a church tag sale in Rockport, MA during a weekend holiday visit there two summers ago. I've been waiting for the opportunity to employ it in a still life painting ever since. With a spot light setup left of the table and slightly above horizontal, I created some dramatic light and shadow patterns on the objects while arranged them on the surface of a small antique table. I also hung a dark blue backdrop behind the subject to create a rich, deep relief for my painting.

step 2: the thumbnail sketch

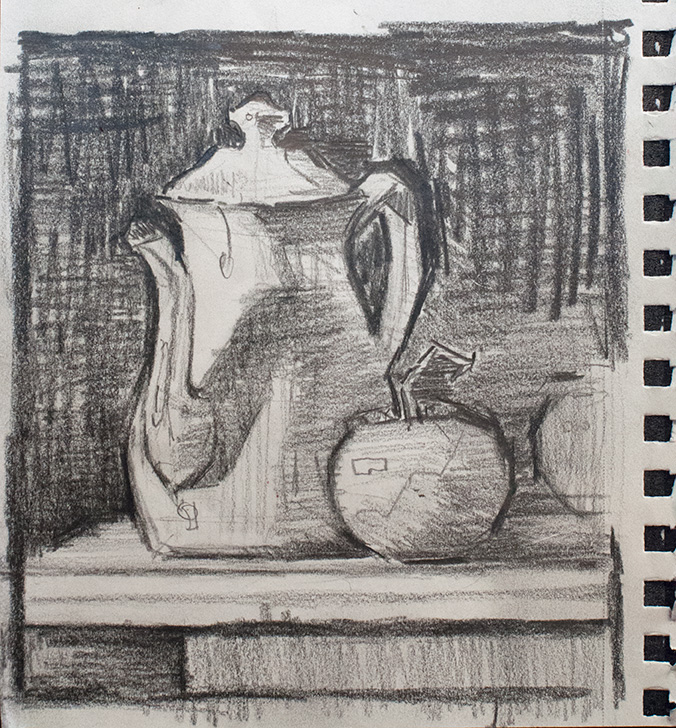
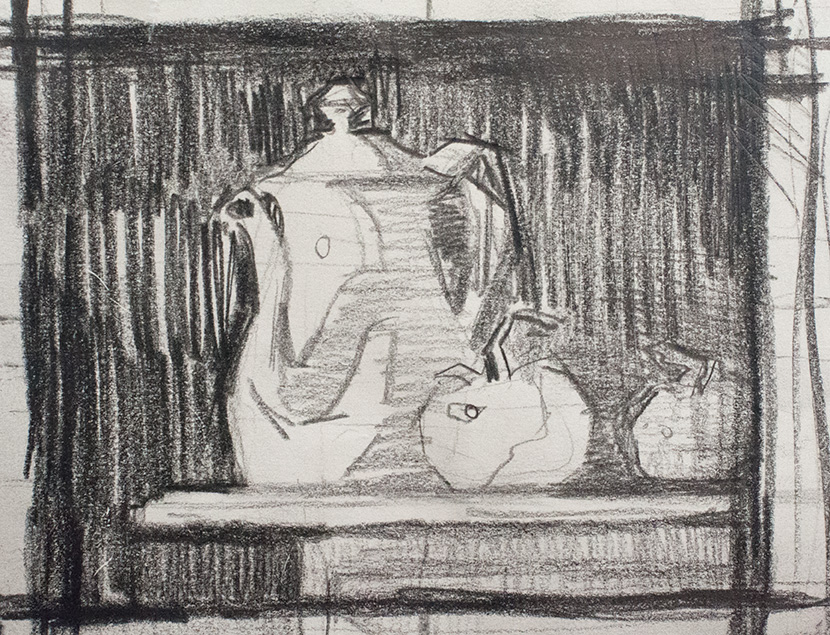
Once I have a setup that I'm interested in, I pick up my soft Ebony pencil and a small sketchbook, and I begin to design the painting. I tried two approaches, which you can see in the slideshow, and settled on a design that was horizontal, picking up on the profile edge of the table. In order to do this, I sat in front of my setup from a low angle, keeping the table directly at a 90 degree angle from me, and the top of the table at eye level. This creates this striking horizontal surface to show off the teapot and tomatoes. I also wanted to crop one of the tomatoes as a lead in shape. Thumbnail studies are about problem solving, not gorgeous little drawings. In them I clarify the shapes, simplify the values, and design the composition. When I've done those three things, I move on. 

step 3: The pastel painting

I had a piece of 10x12" Wallis Museum Grade Paper in the studio mounted to Gatorboard, so I used it for this painting. The first step was to recreate the drawing blueprint with extra soft vine charcoal on the white paper. Once that was done, I jumped right in with soft pastel and developed the big masses of the painting, starting with the darks and working toward the lights.  You can see me working from life in my studio in the image slideshow above. What a joy it is to take the time to really design the painting, and to slowly develop the shapes until you realize your initial vision. Looking at sketch #2 in the slideshow, you can see that this vision was realized in the final painting. 

My NuPastel Portrait Palette Colors

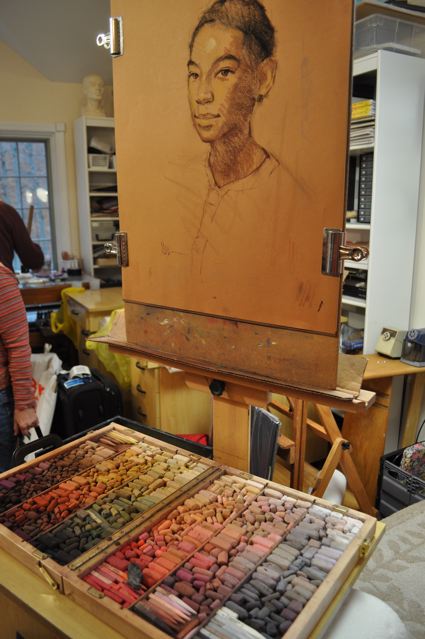
Artists often ask me which brand of hard pastels I use, as well as what specific colors are in my portrait palette. Well, to answer this question once and for all, I've created a chart of my favorite NuPastel portrait colors, along with a collection of grays that I keep in my portrait palette. I purchase these NuPastels in single sticks online from resellers like Jerry's Artarama. All the numbers on this chart correspond with the official NuPastel color chart numbers, so you can easily order them yourself. If you want to learn how to sharpen these to a point, watch my video where I given a demonstration. I hope you find this helpful!

Interview With Cherie Haas, Online Editor, Artists Network

While on the set with ArtistNetwork.TV to create a new video series, I had the opportunity to share a few thoughts on art during an interview with Cherie Haas. In PART 1, we discuss why I love pastels, my artistic muse, and my process for setting up a still life.
In PART 2,  Cherie asks me about one of my favorite "A-ha!" moments that transformed my work. We also discuss my series, Reflections of Hope which depicts the people of Rwanda, and how I attempt to invite my audience to look more deeply and care.    

Watch Part 1               Watch Part 2

Landscape Demonstration & Portrait Workshop

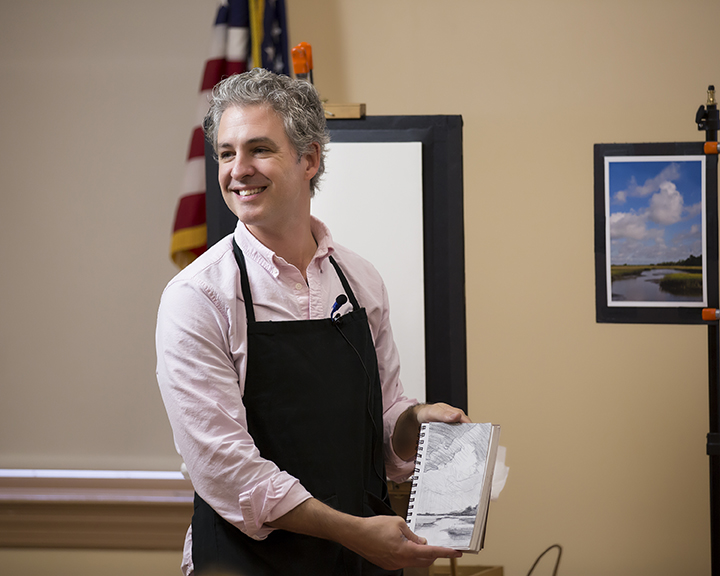
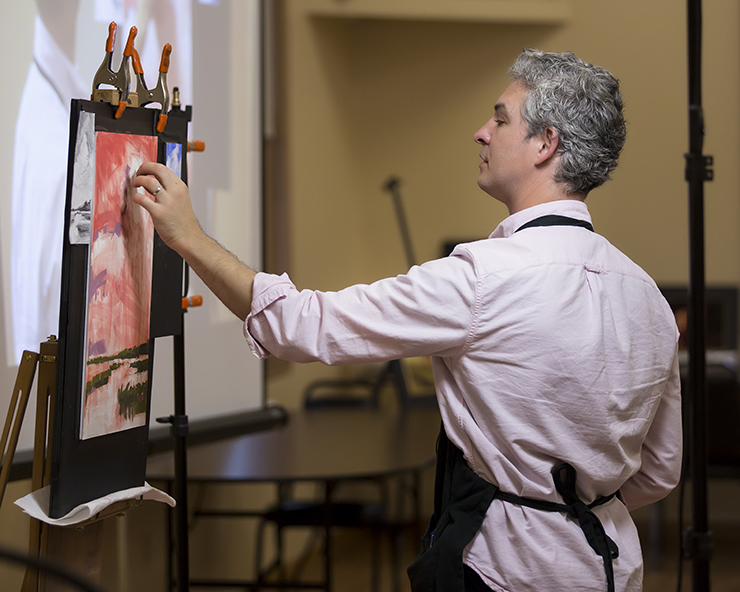
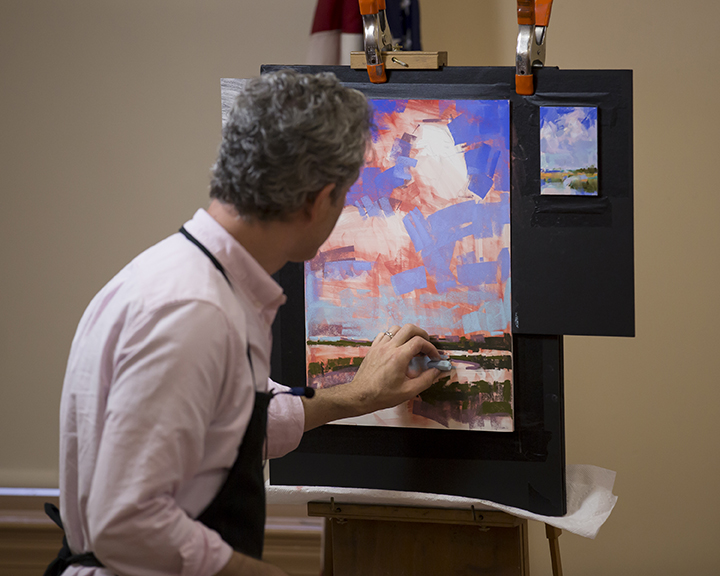
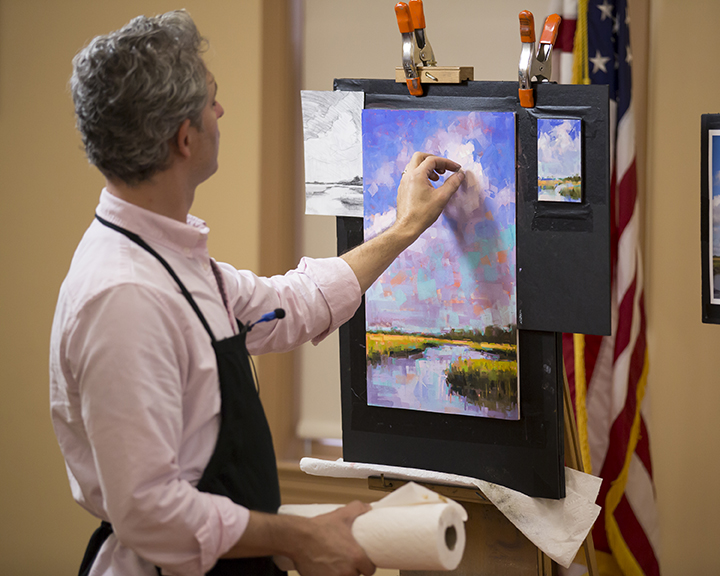
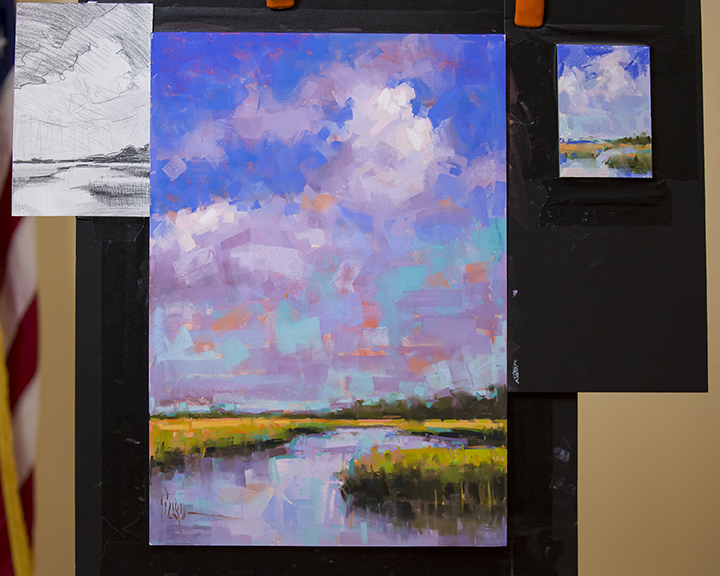
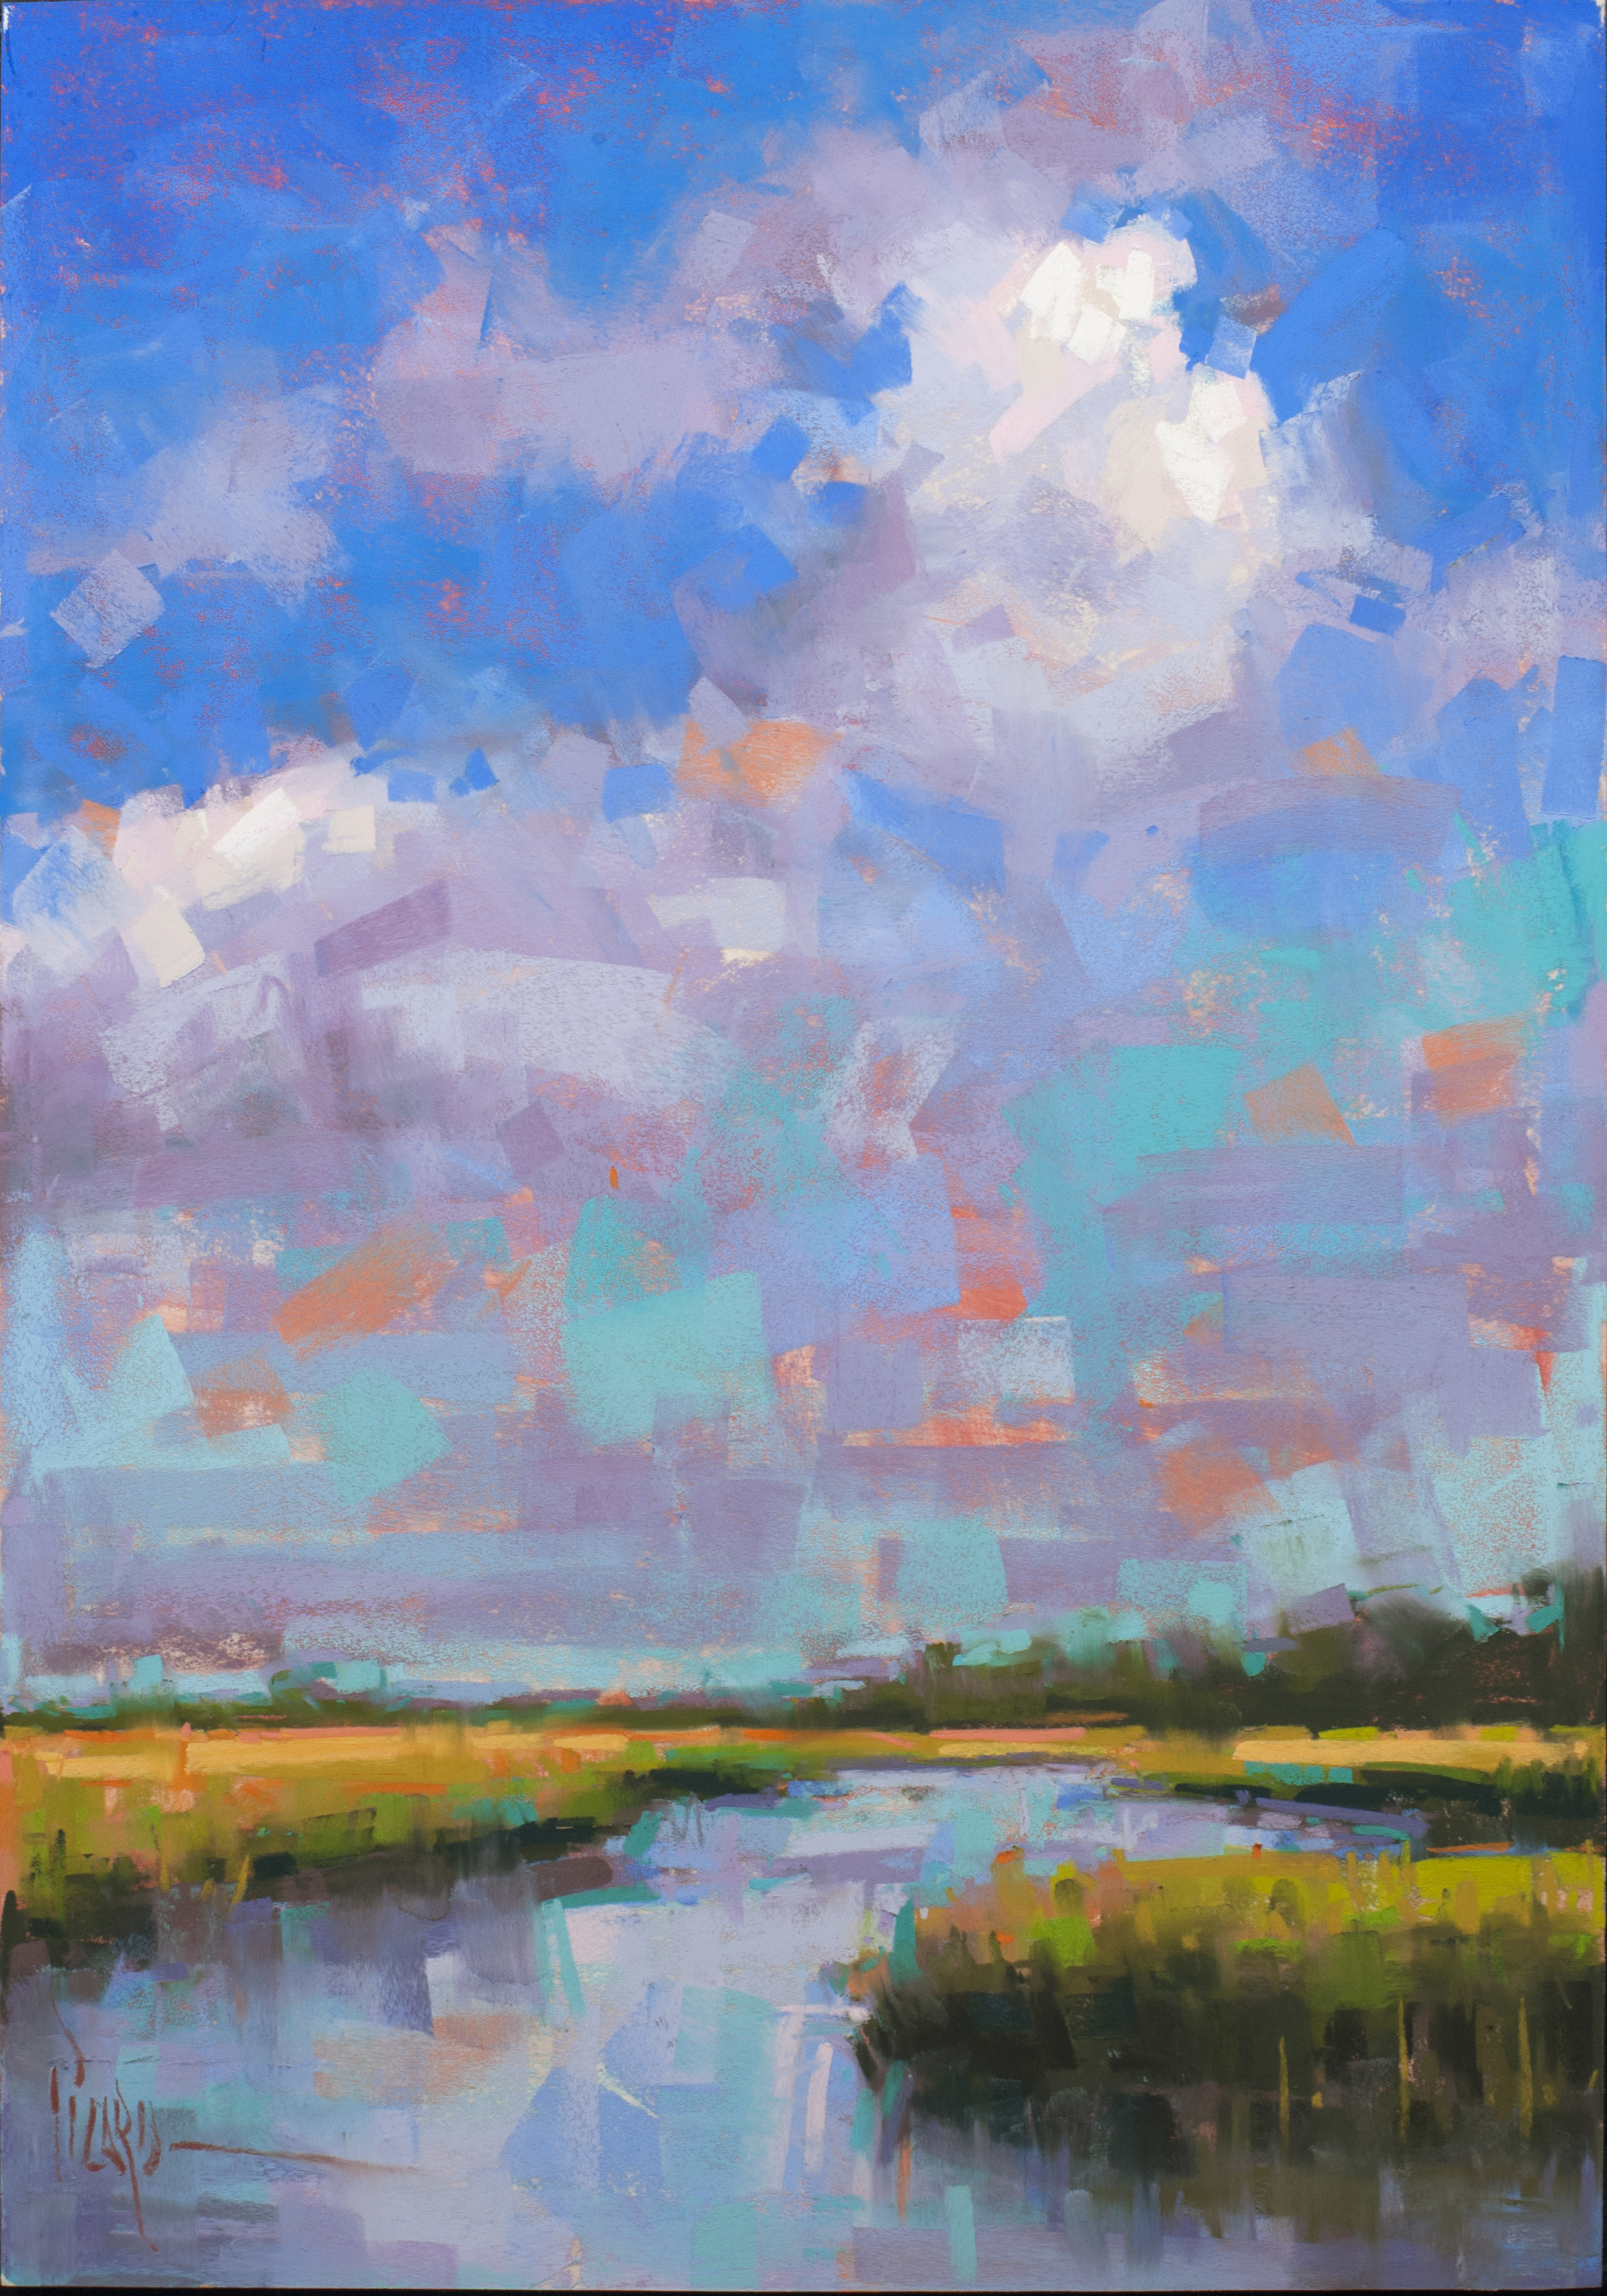
I had a wonderful time last month giving a painterly landscape demonstration for Pastel Society of New Jersey. I have some pictures to share, compliments of John D. Helm Photography.

LIFELIKE PORTRAIT & FIGURE PAINTING Workshop

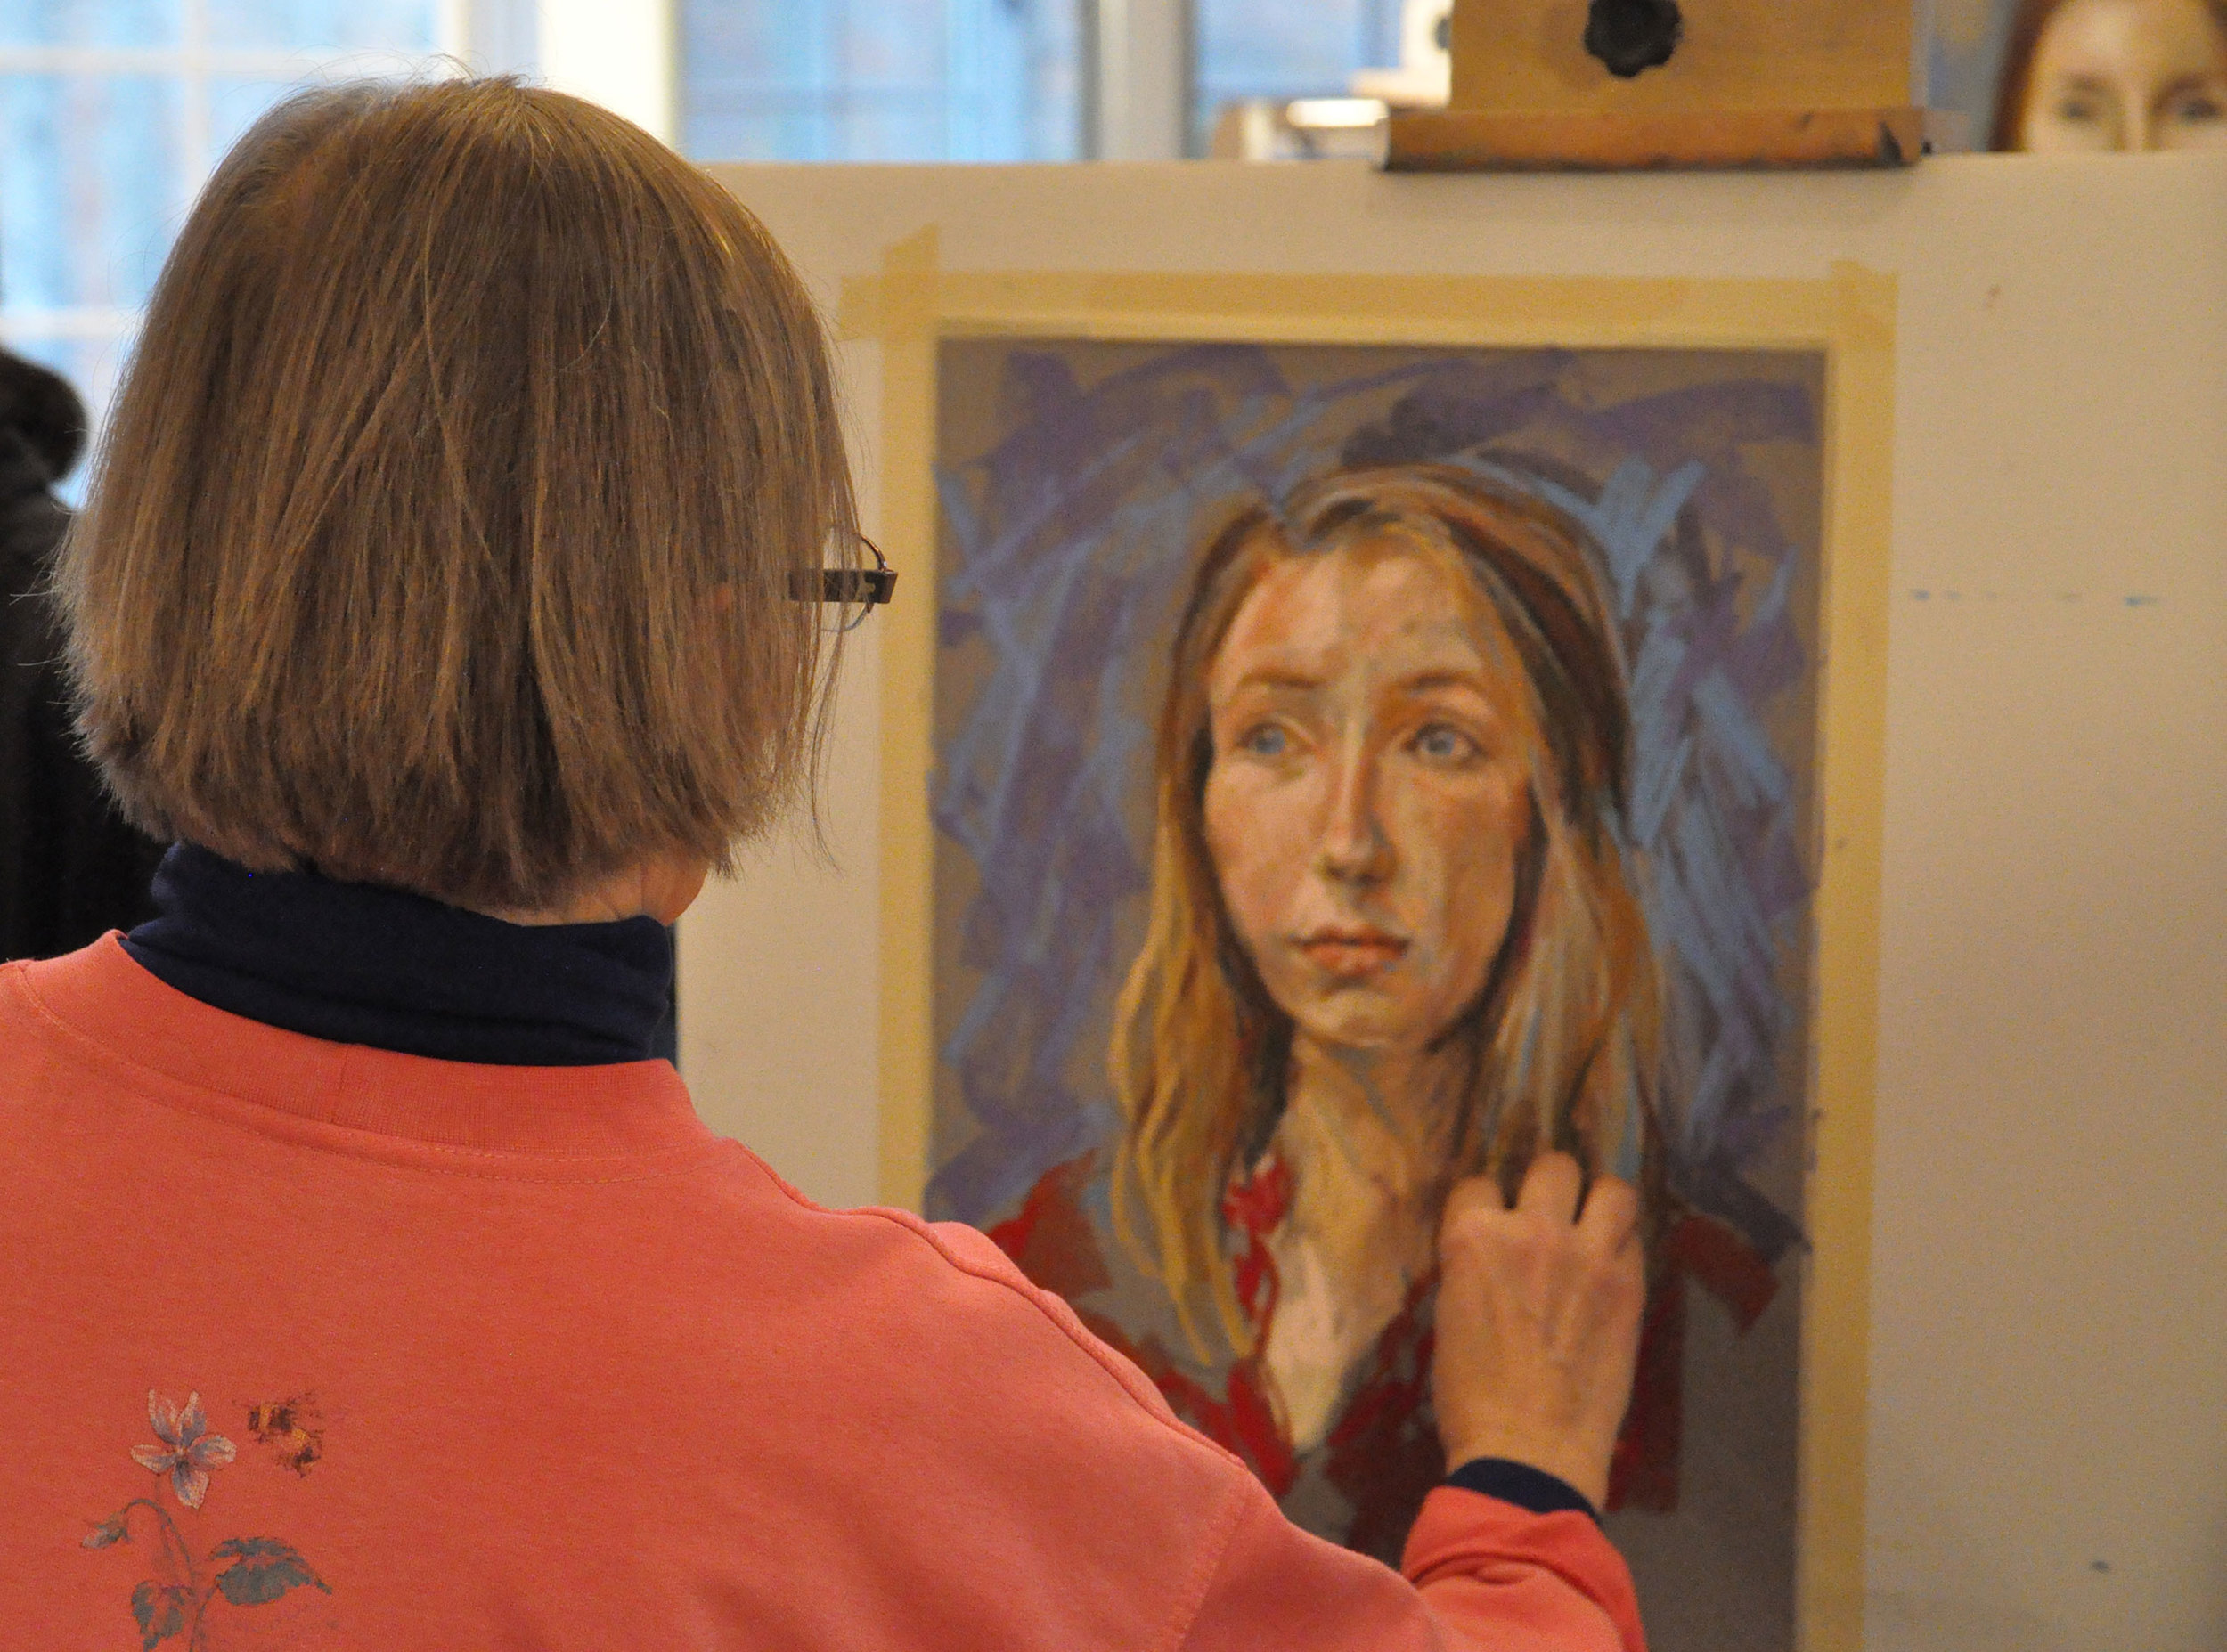
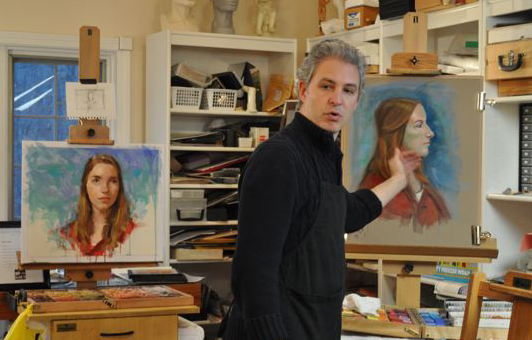
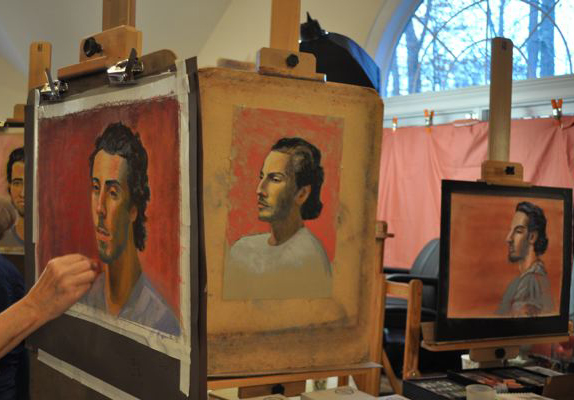
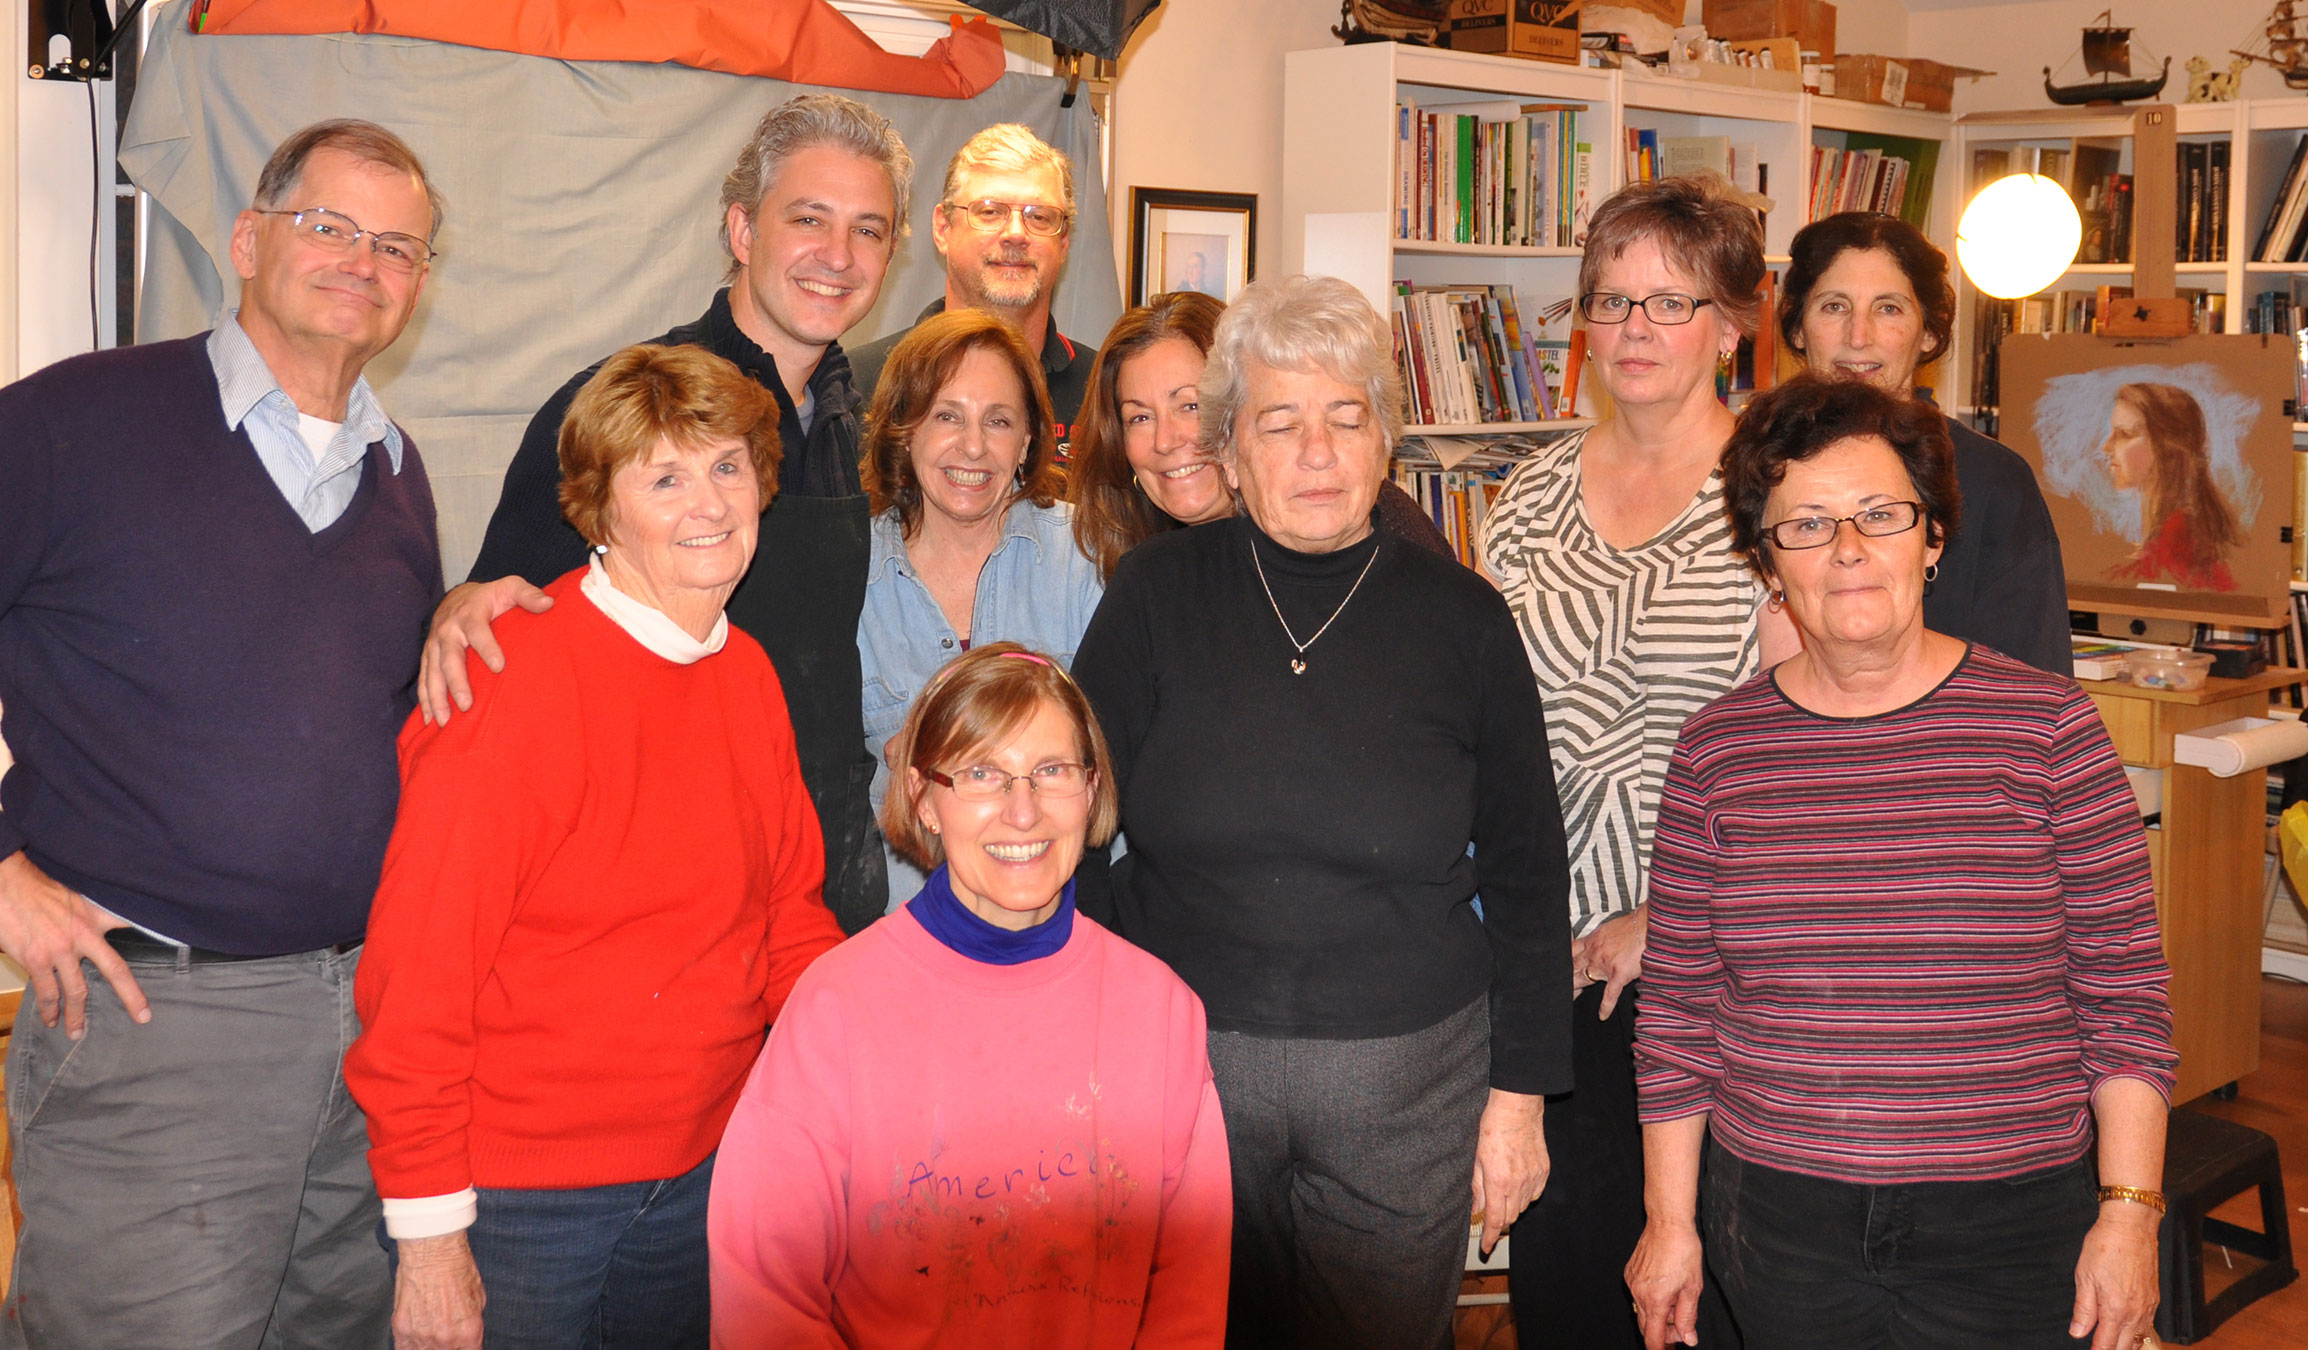
I hosted a three day portrait workshop in Southbury CT this month with a wonderful group of artists. Here are some pictures of my demonstrations as well as student work. 

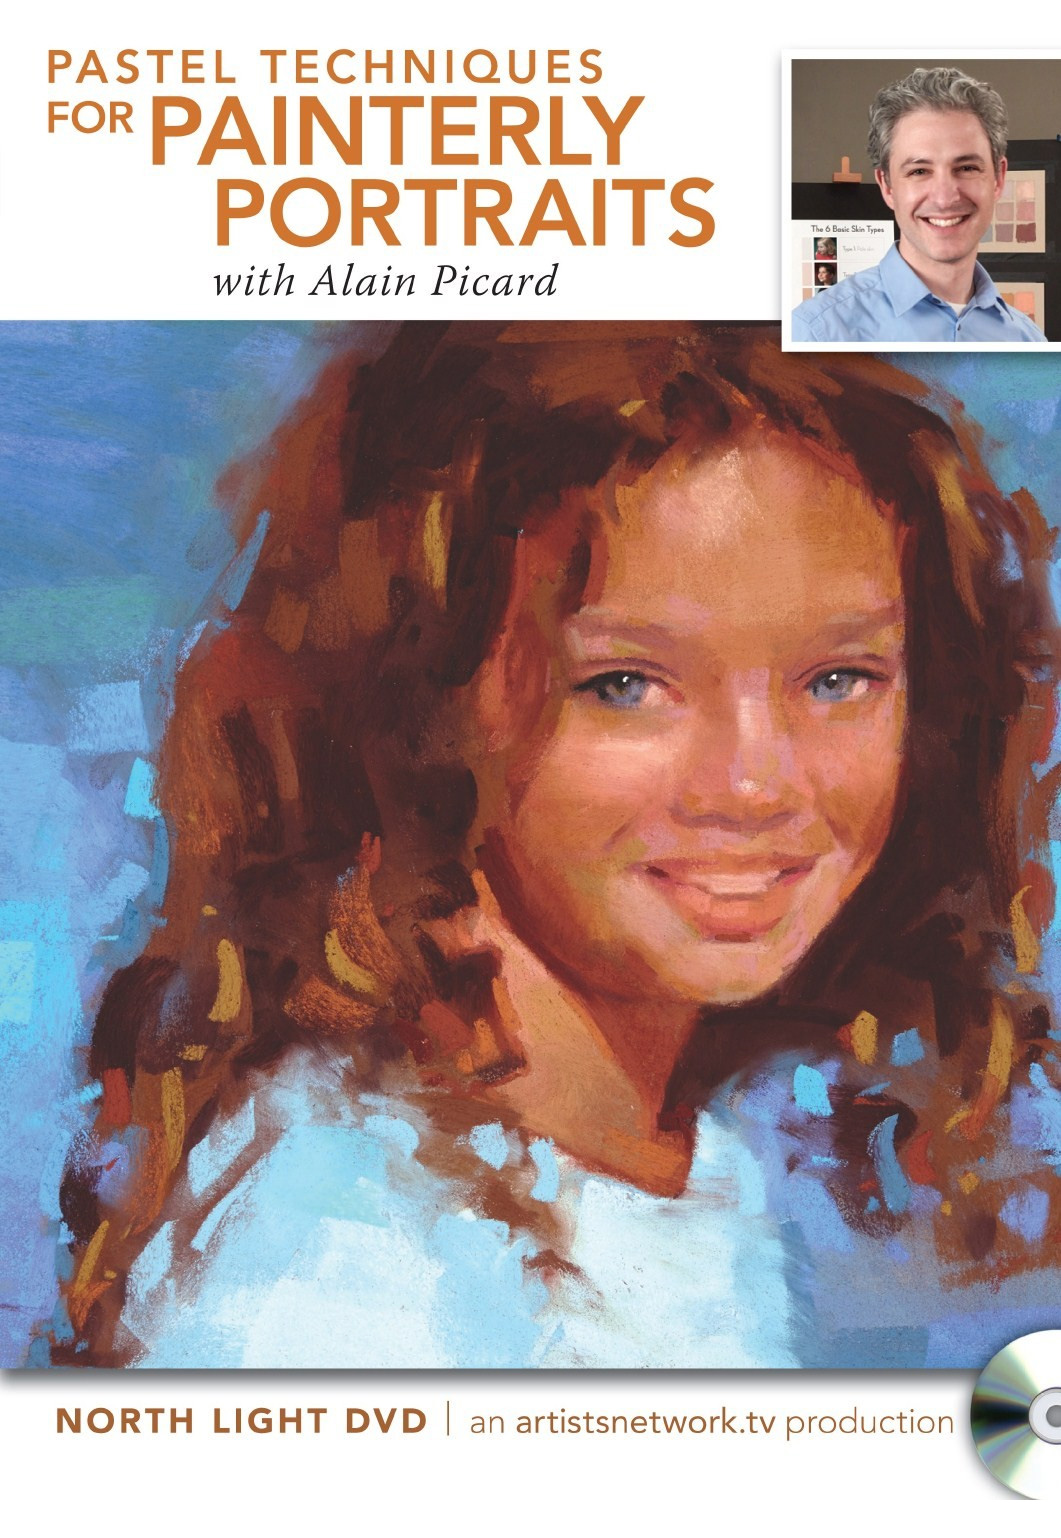
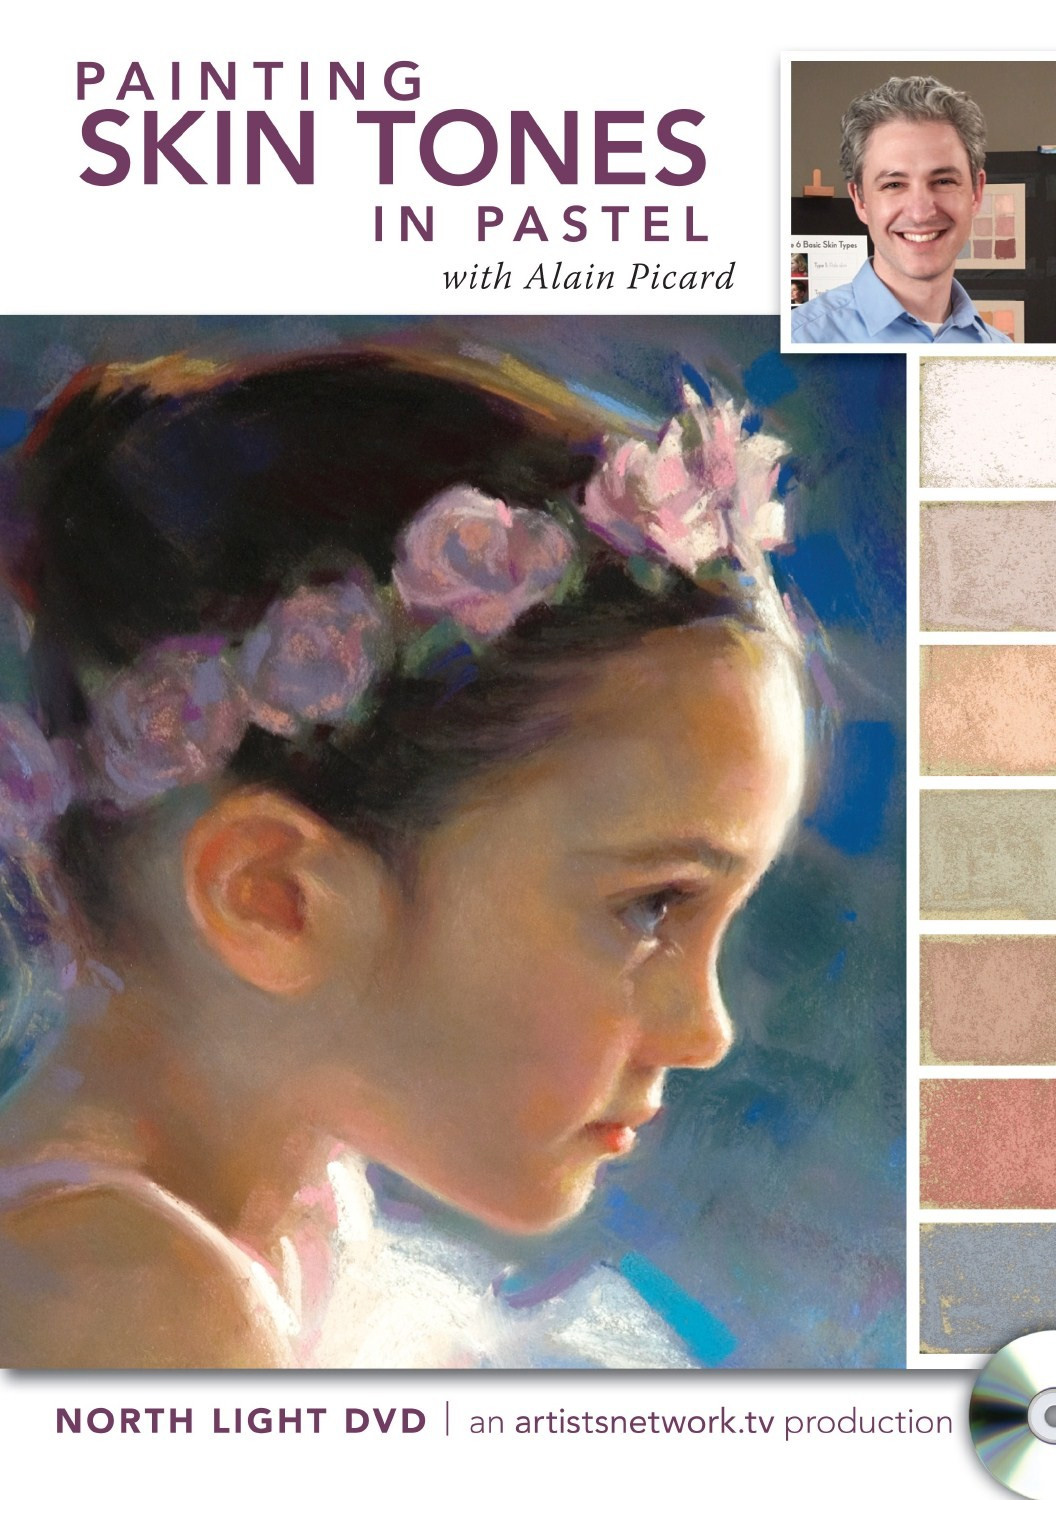
Videos No. 2 & 3 Pastel Techniques for Painterly Portraits and Painting Skin Tones in Pastel

These DVDs are no longer available but if you or looking for more of my educational content visit the Store for the latest videos and books or sign up to learn about our upcoming live workshops and courses.   

New Video: Essential Techniques For Pastel Portraits

Coming this summer, my new three-DVD set of art instructional videos focused on pastel portraits from North Light DVD. The first video reveals a host of portrait techniques to fill your visual toolbox. Look for the set to be available on artistsnetwork.tv and northlIghtshop.com by August. 

These DVDs are no longer available but if you or looking for more of my educational content visit the Store for the latest videos and books or sign up to learn about our upcoming live workshops and courses.  

Essential Techniques.png